Additional information about the Plano Model Products EMD stanchions
After posting photos of the first set of test stanchions, I received some feedback both online and offline. I thought I would use this page to try to answer some of those questions and allow everyone to keep up with what I do know and what I plan to do as I work to get these into production.
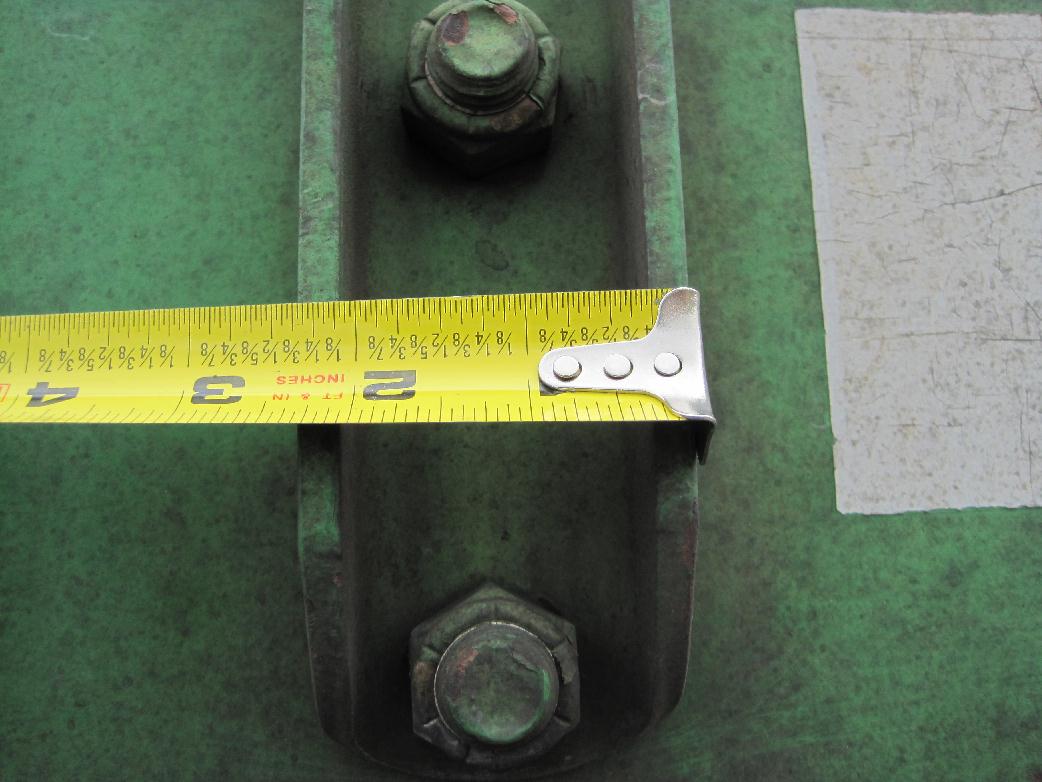
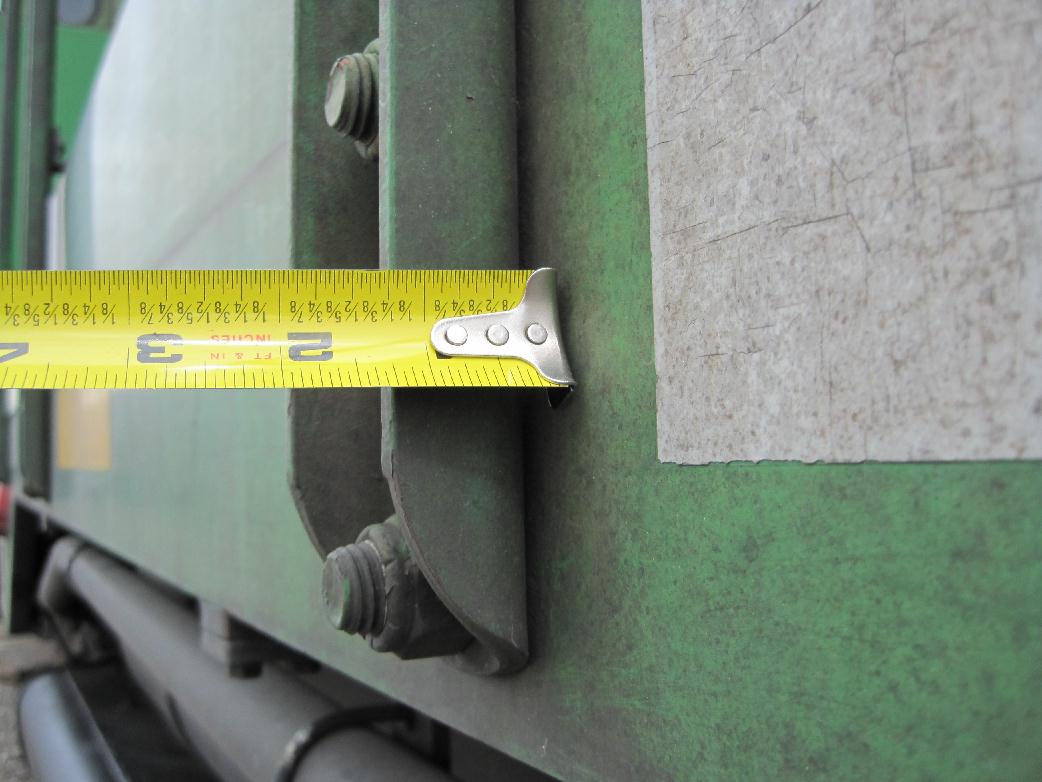
One of the big questions is if they are prototypical in size? These first sets of test parts are not. I totally miss calculated the sides, what can I say? I will get them as close as I can to prototypical size. But folks, you have to remember, some sizes just can not be matched on scale models. Prototype stanchions are formed from 1/4 inch steel. These 1/87th scale stanchions are made from .008" brass. So there will be a little fudge in scale width. Hopefully once I get the sides correct they won't look so oversized. Here are a couple photos of prototype stanchions so you know what I am working against.
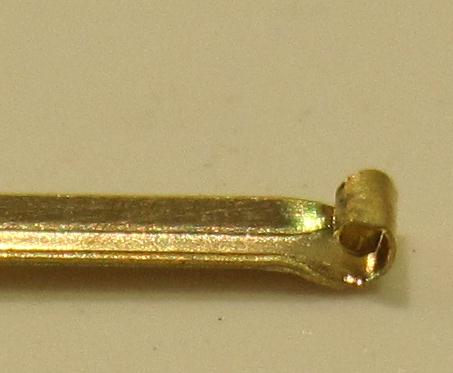
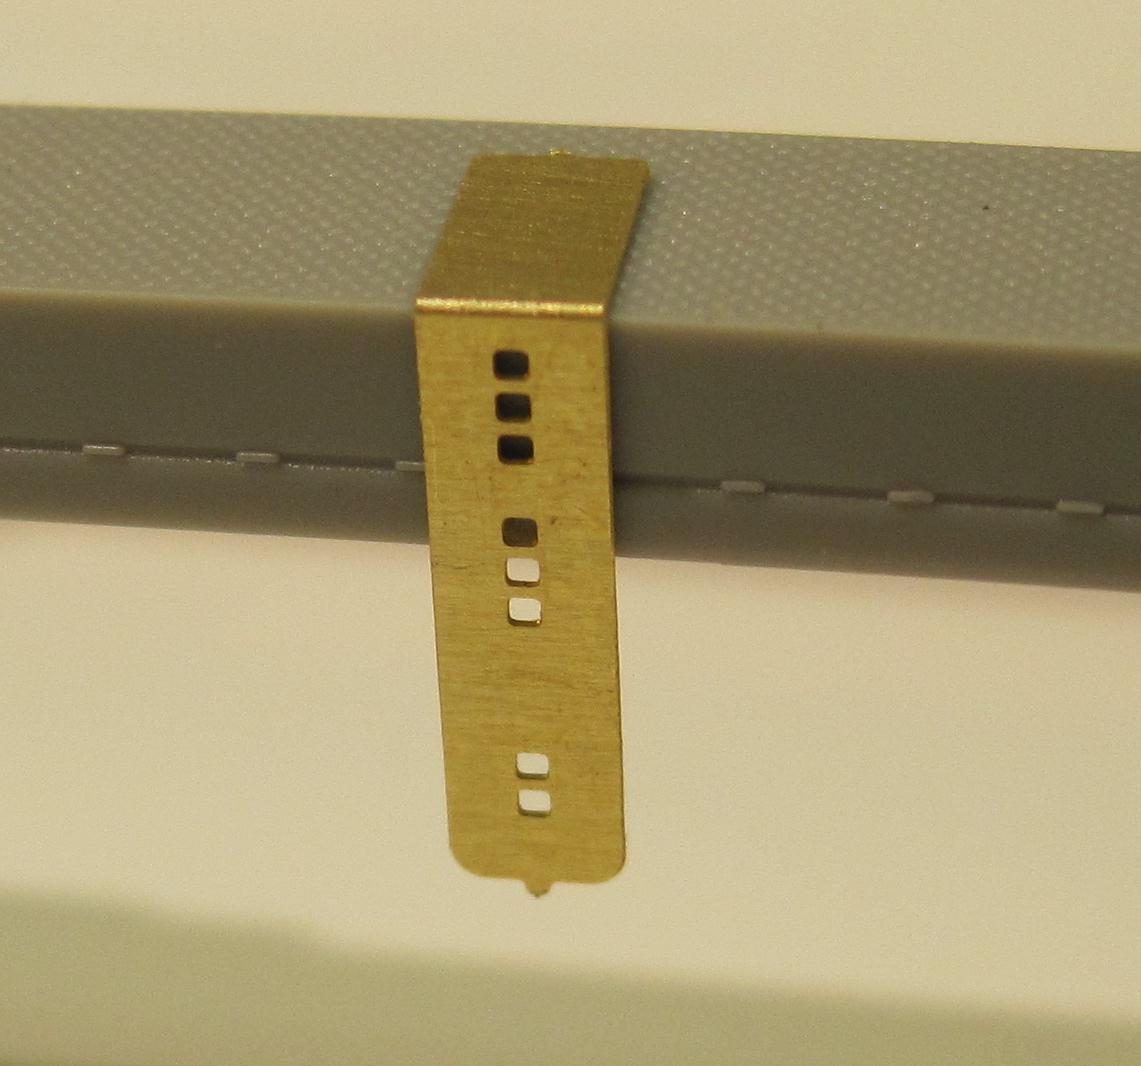
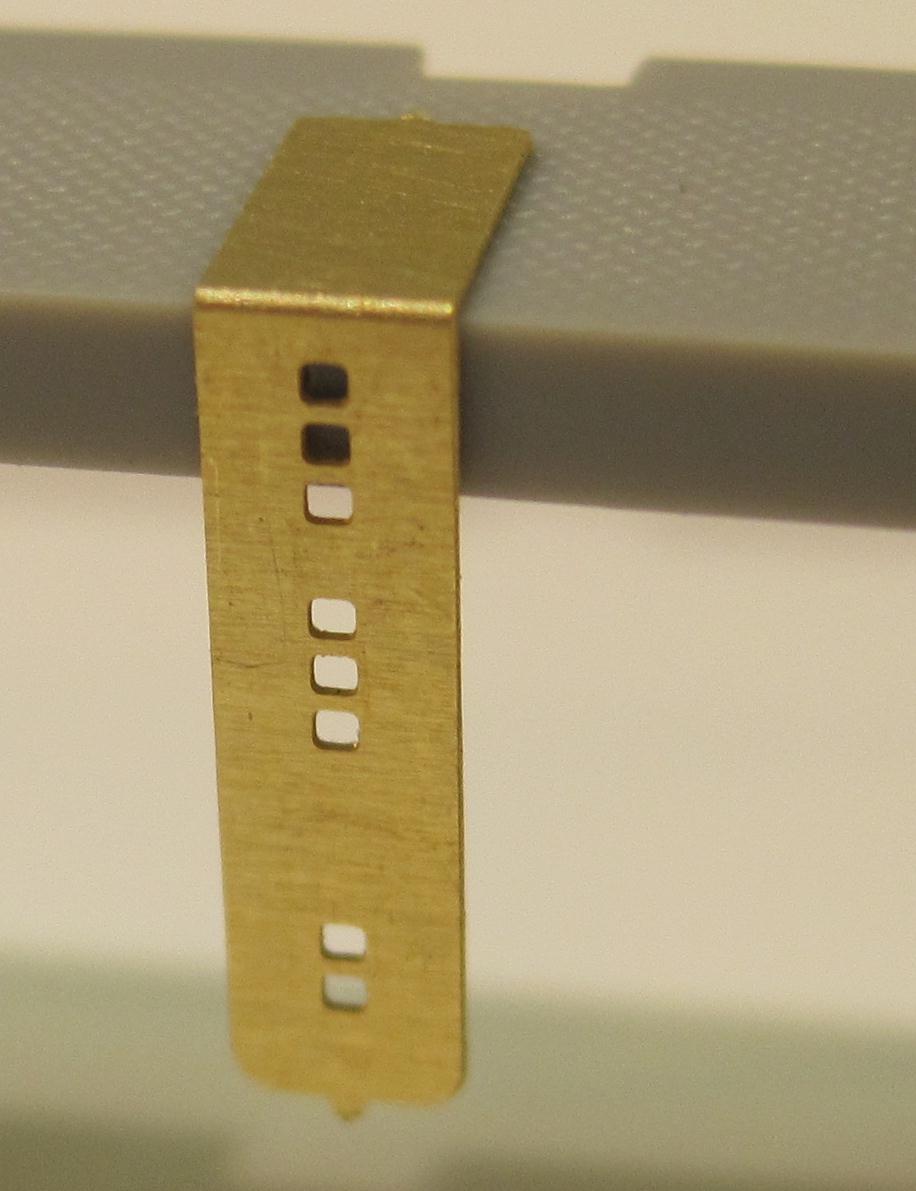
Another question is how hard it will be to form the top of the stanchion around the wire hand rails. I'm happy to say, very easily. You will still need to use caution as they are paper thin. But they can be formed with just a pair of tweezers. Here is a photo of one I formed with a pointed pair of tweezers. Could be tightened up once a handrail is inserted, giving the prototype look. And you can use what ever size wire you want to use for your handrails.
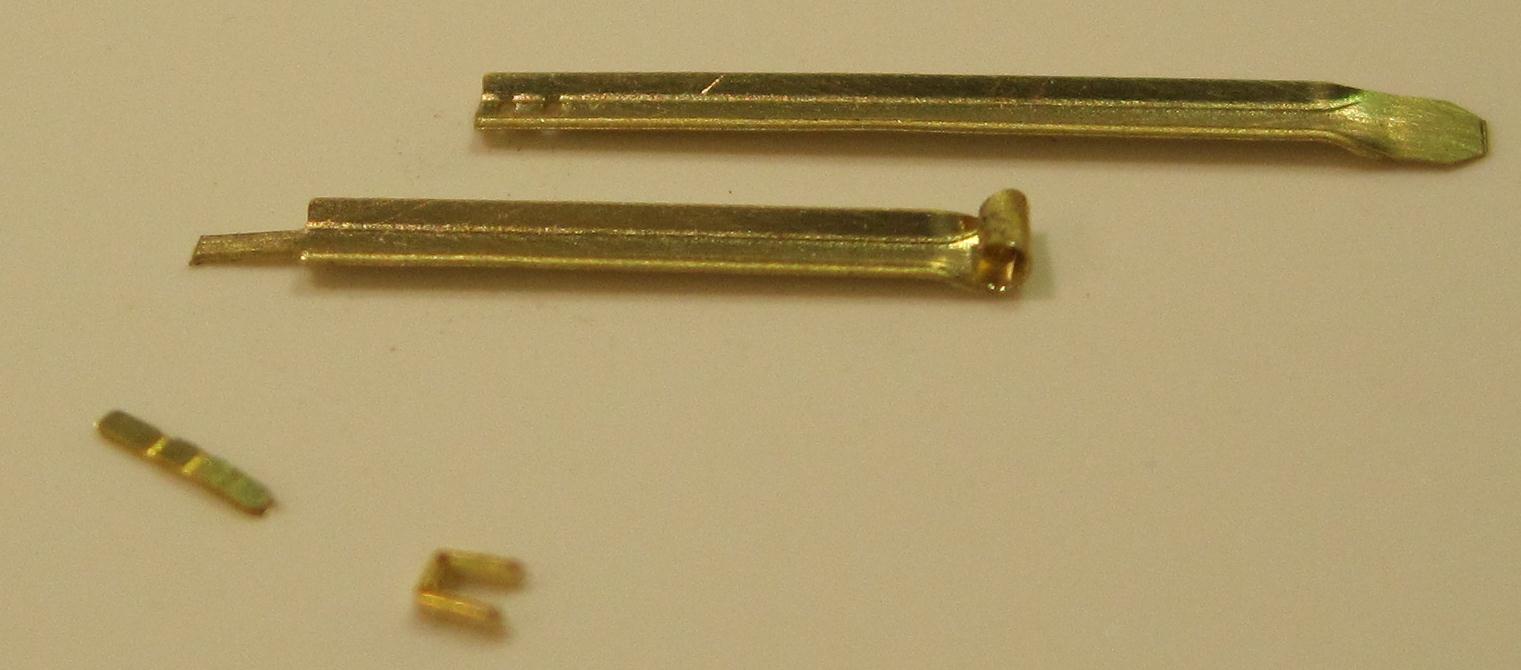
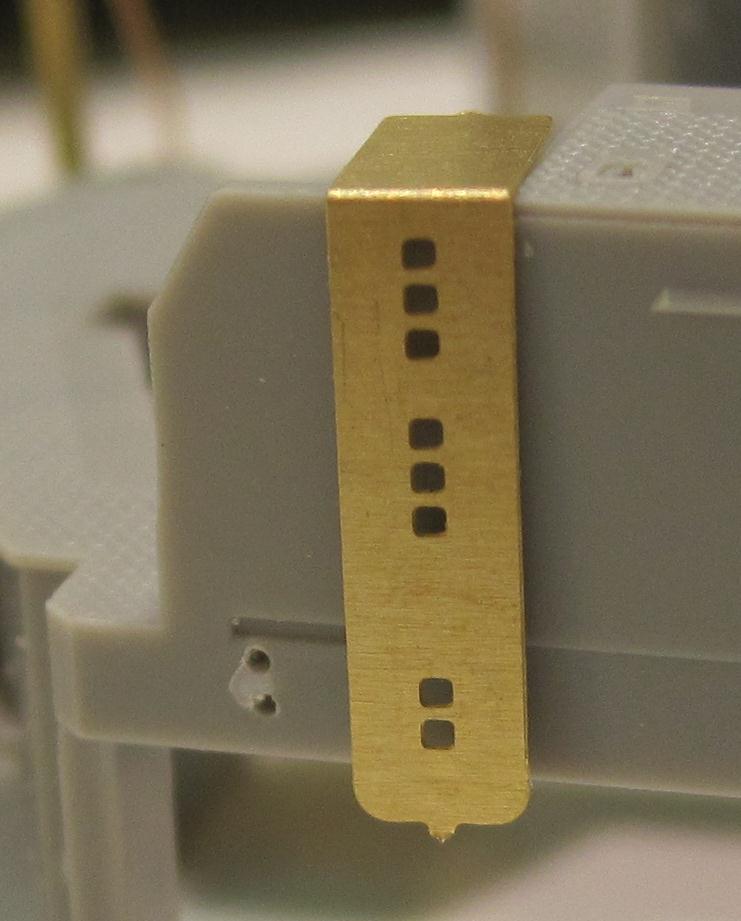
Mounting these stanchions is another issue. This first set of parts were designed to be attached to the model using a small piece of brass formed in a U shape brad. The brad inserts through two holes in the stanchion and into two holes drilled into the side of the model. A little glue of your choice and the stanchions should be there to stay. Are two pins really needed? You would think that once the top of the stanchion is firmly affixed to the handrail it shouldn't move around too much. The real objective here is to get a firm adhesion to the model. One pin, two pins, U shaped pins, brass, stainless... The good thing with this test part system, I can experiment with a few options. May even see if I can build in optional methods and let you decide which one floats your boat. Here is a photo of the brass brads I was thinking of using.
And those mounting holes? Each set of stanchions will include at least one drill template. The template will have a series of holes in it to aid in drill the holes needed in the proper locations.
How will the sets be configured? In short, I don't know yet. Originally I was planning to have each set cover a specific unit. But there are a few who expressed an interest in just buying the sizes they needed. So, as I tweak the parts, I will see what works best and hopefully do something that works for most of the users.
When will they be available? Hopefully late summer. I am only six weeks into this project and I would rather make sure the stanchions are right before releasing them then rushing to get them on the market and then finding I could have done something better.
Will the stanchions come formed. Yes, I will press the channel in all the stanchions. You will still have to wrap the top of the stanchion around the handrail. Handrails will NOT be included in the kits. You have the option to use any material and size wire and they are relatively easy to make. And cheaper than having me have them done.
How much will they cost? Again, I don't know. Kind of depends on how I configure the kits. Estimated price should I do a set for a SD40-2 would be in the $9-$10 range.
Do I expect everyone to like and use these photoetched stanchions? Yeah, and I expect everyone to start driving electric cars by the end of the year... Seriously, Everyone has different tasted on what they like to use and see on their models. That is fine, I am just working on one option that fits in my line of photo etched details. If you like them, my effort pays off. If not, I'm fine with that, it is your model after all. But either way, no one should definitively judge any product until they see the final project. Ok? Just be happy there are options in the works.
Thanks again for the feed back from those who did provide it. Hopefully I touched on what you are wondering about. And if not, I will be updating this page as I know more. So maybe your concerns will be answered soon.
And for those that missed this original posting, here are some photos of a few parts being tested on a P2K GP38-2 88" nose version - click the photo.
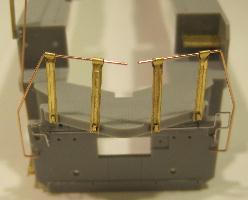
Still more coming soon..........
Thanks for looking!

www.planomodelproducts.com
Web service provided by Cactus Shade Designs