Thrall Double Stack Detailing Project
This is a project I started playing with in the early 90's, shortly after finishing the frames kits for these cars. As I researched all the frame
details, I was intrigued with all the other details that could be seen on the sides of these cars. A batch of test parts were developed and
tested but there where something's I didn't like so everything was shelved. Over the years I experimented with the parts and have modified them
to a point I am satisfied with. But there are still some areas I am unsure how to finish. So as a way to get these parts finished up and also
get some constructive input, I thought this would make a good Community Project. Please note - I am photography challenged so bare with me as I work
through this. I hope to get better as this goes on.
The model is the A-Line Thrall 40 ft well double stack cars. The 45 ft. intermediate wells are also covered by these parts. The only parts from
the A-Line kits I am using for this detailing project are the body shells. So all those extra parts???
The level of detail one may want to do is up to you. Some people won't want to go this far, some of the parts will be VERY small. I am hoping
for some ideas of added or different details and or methods.
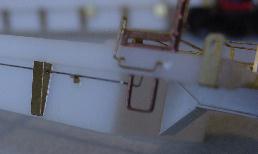
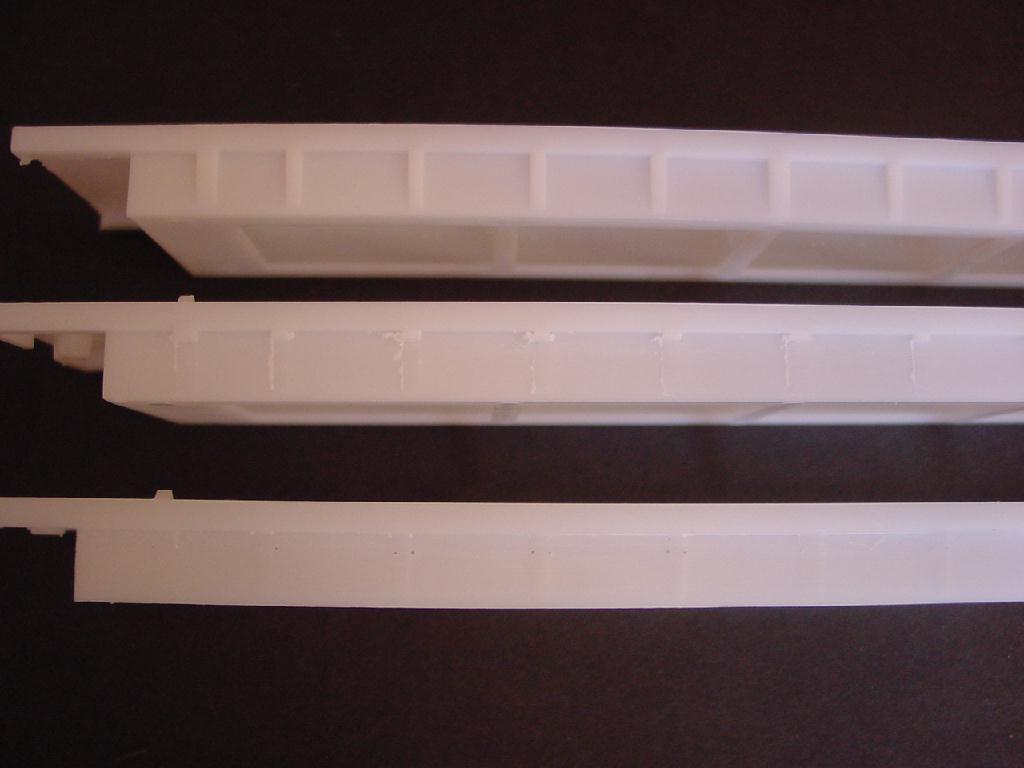
Now I really DO NOT suggest doing the following as it was kind of dangerous and didn't do a very good job but at the time it was a way to do it. To
remove the plastic molded on side supports (ribs) I used a radial arm saw. A lot of additional sanding and filing was done. And as you will see
some filler was used to fill an area the saw took too much of. Now, I would use a mill.
Here is a photo of three shells, one stock, one after the saw and one cleaned up. Not a very good photo, I know.
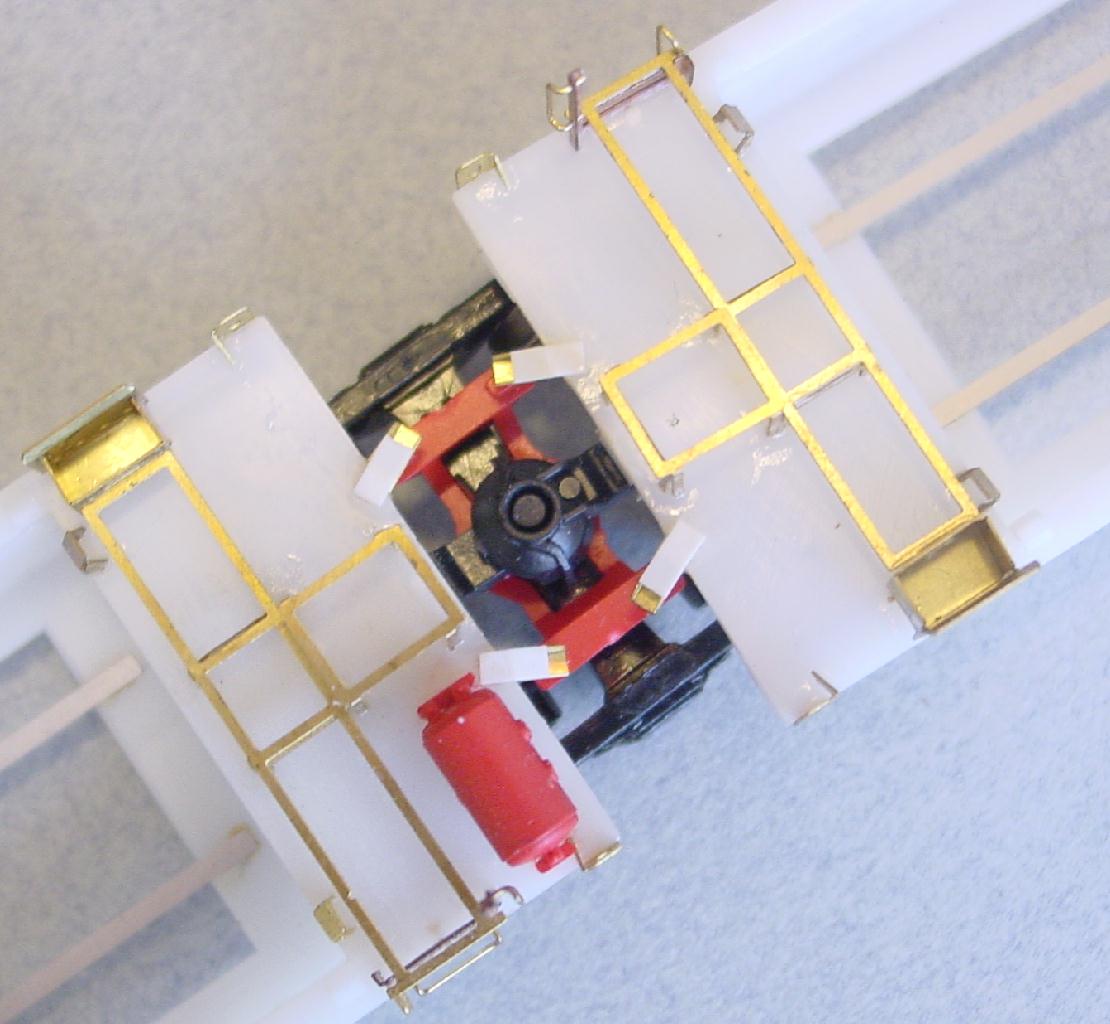
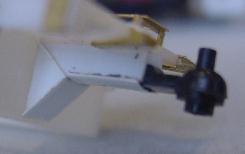
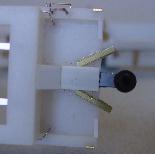
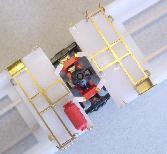
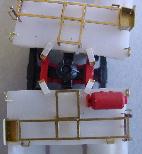
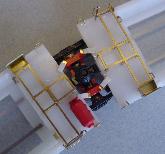
The kits metal weights that are also used as the articulation are not being used. I prefer weighting the lower containers.
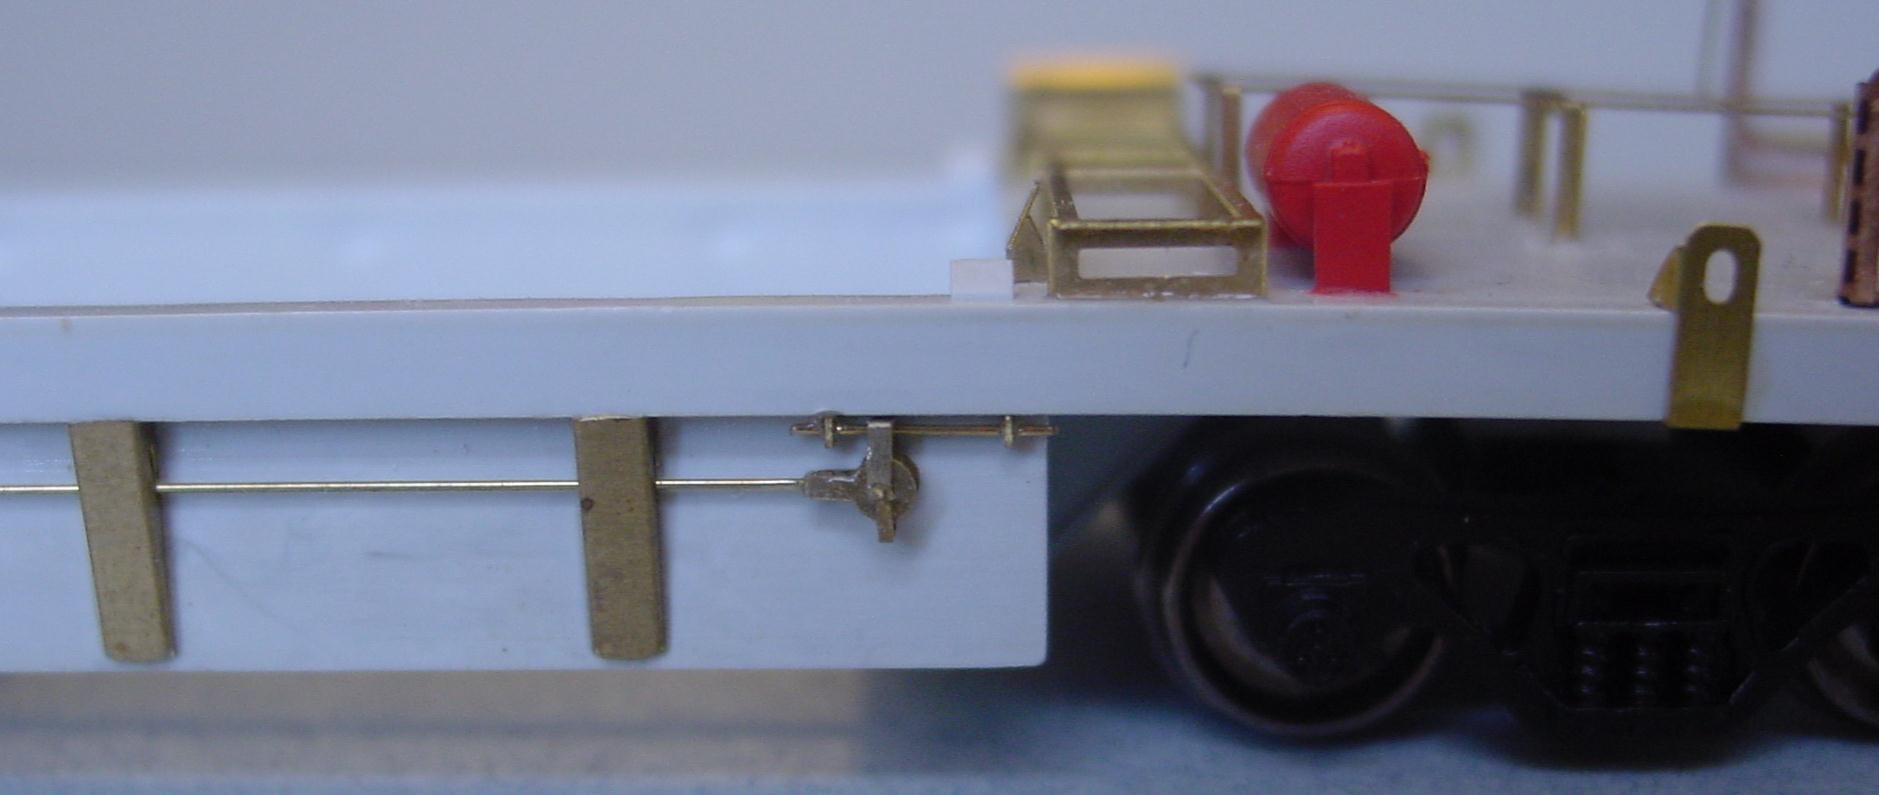
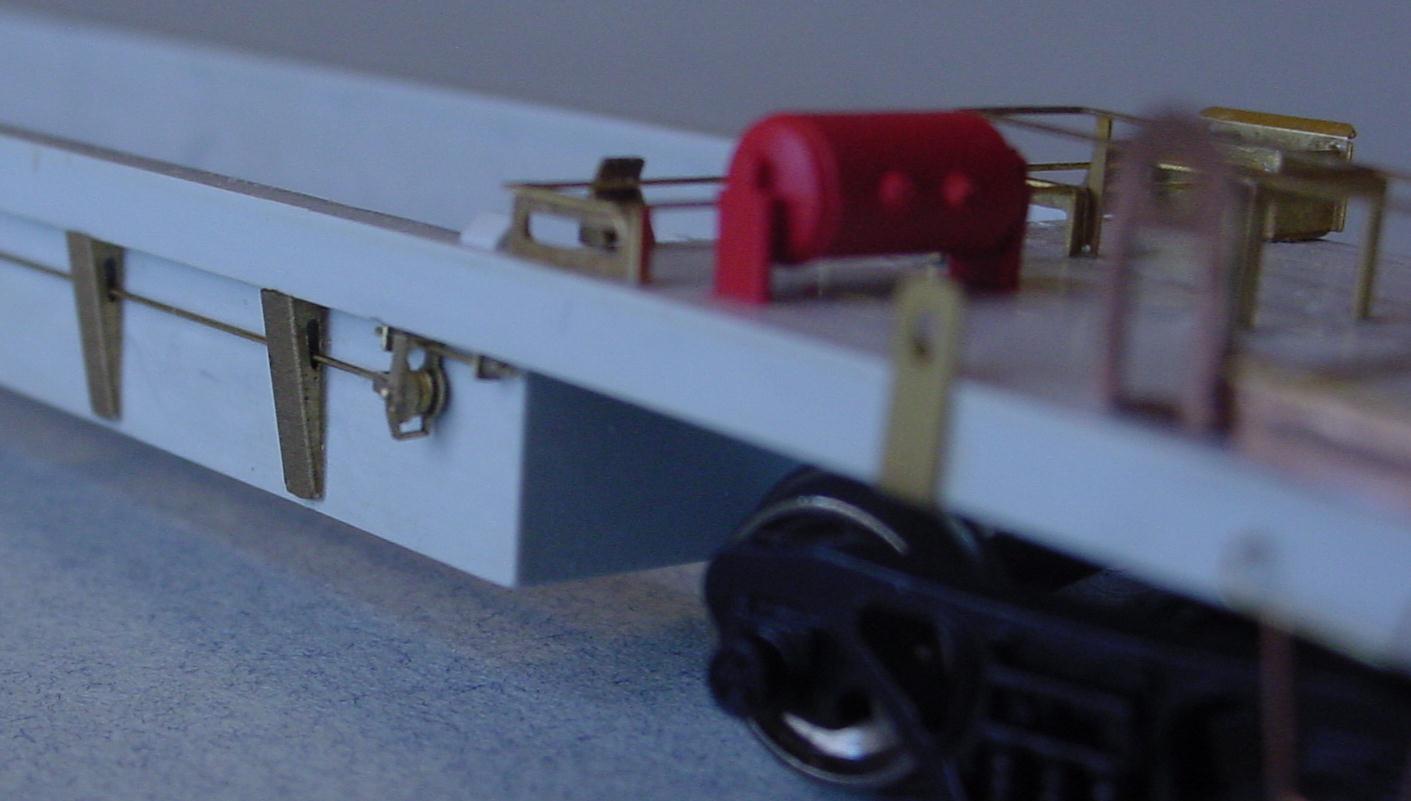
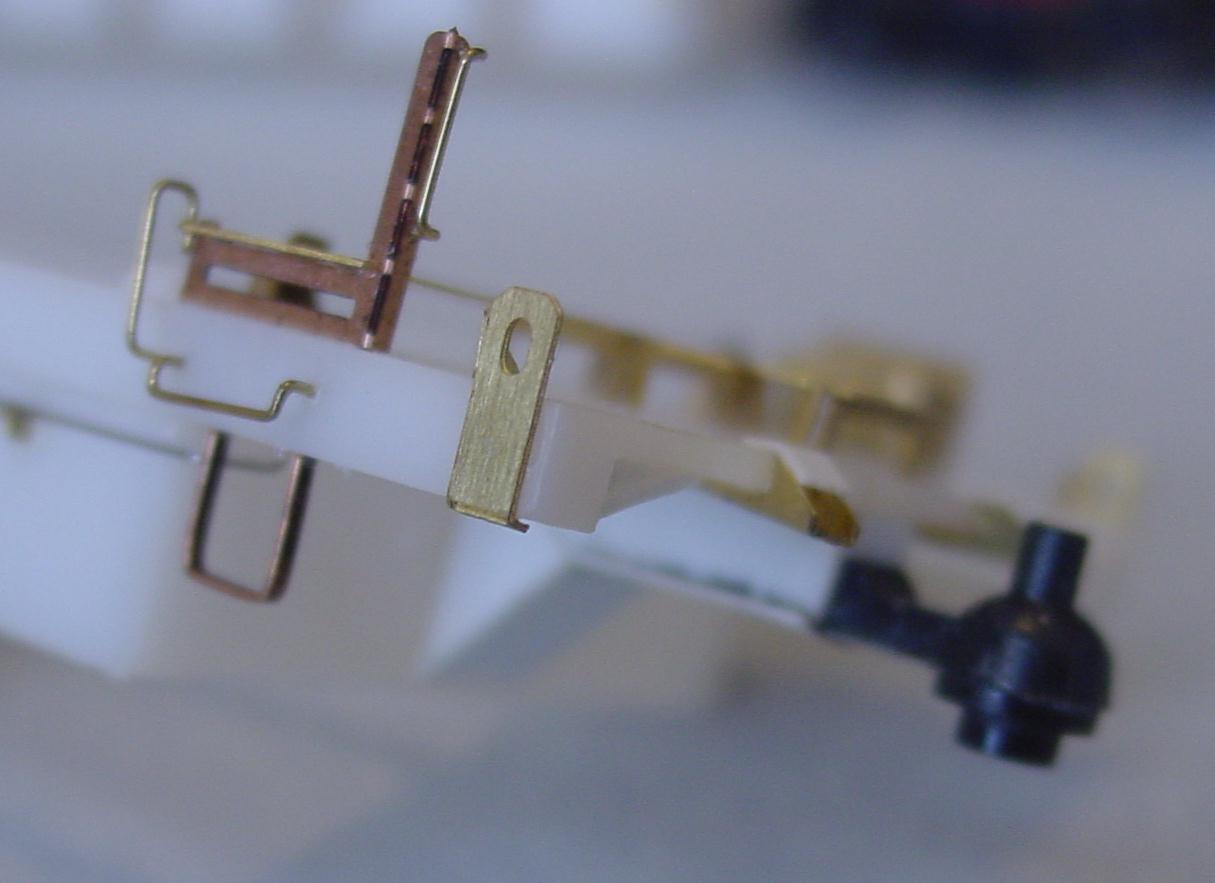
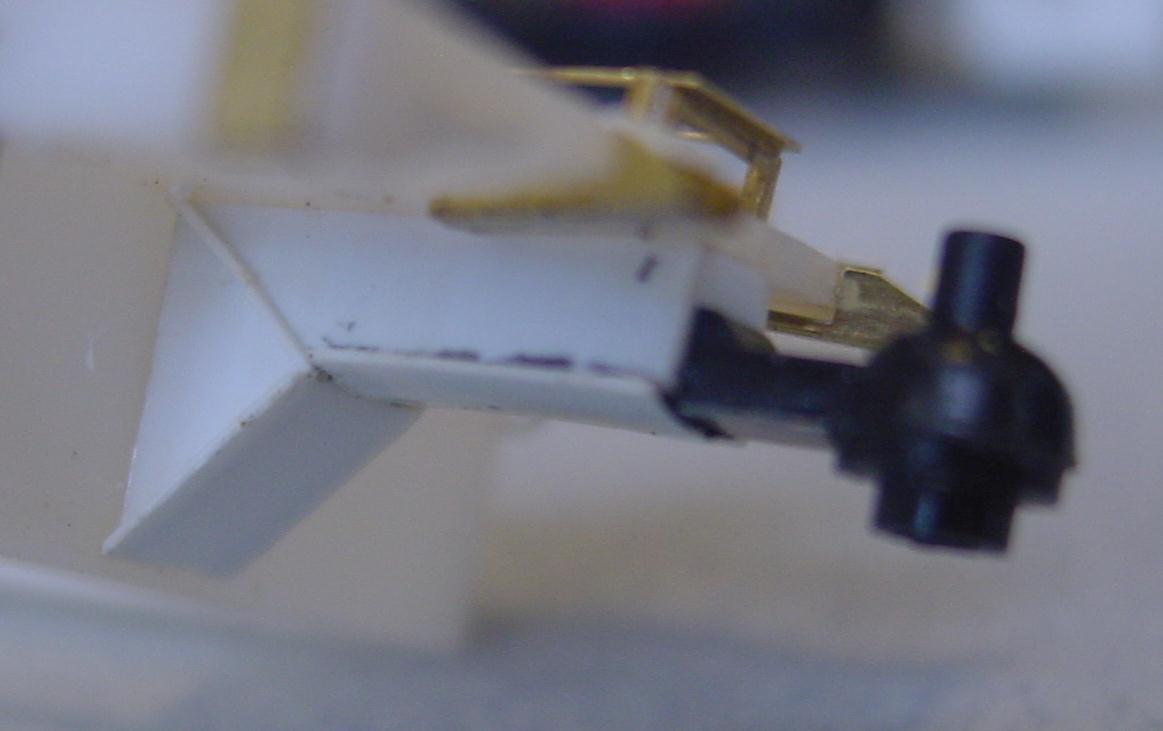
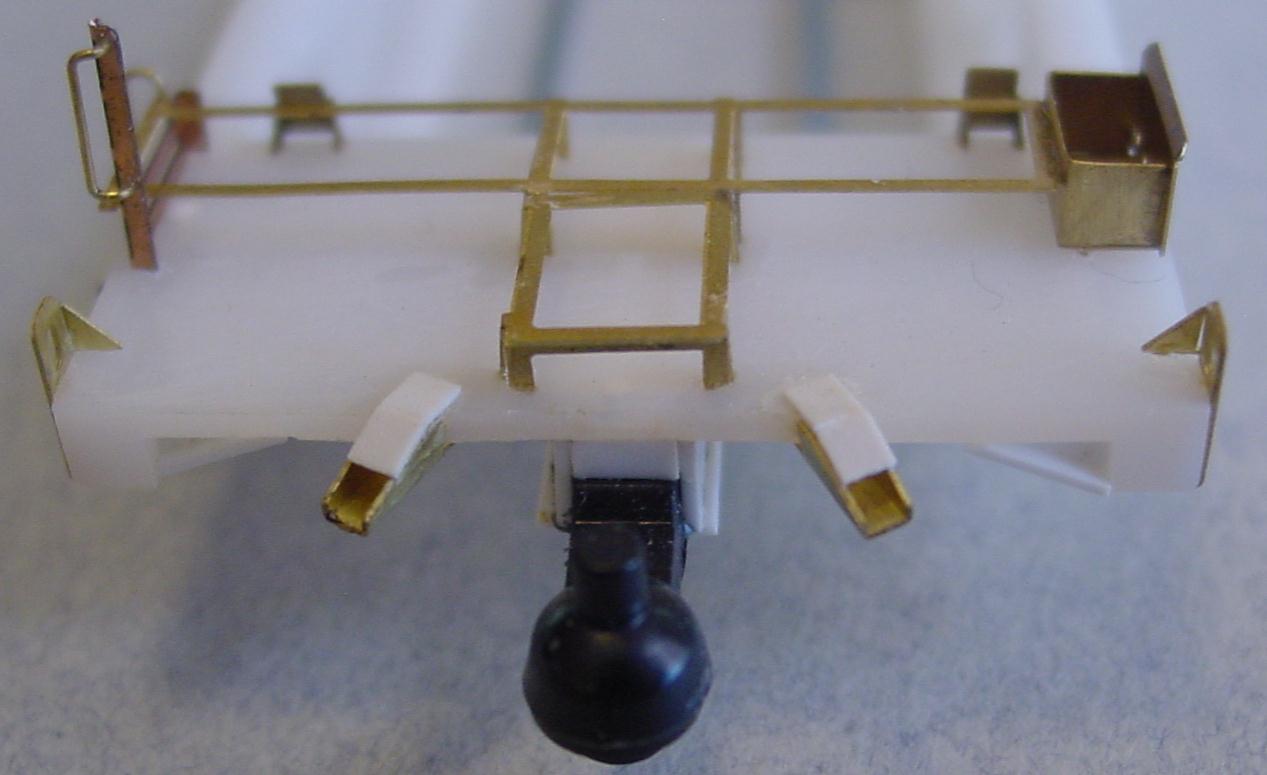
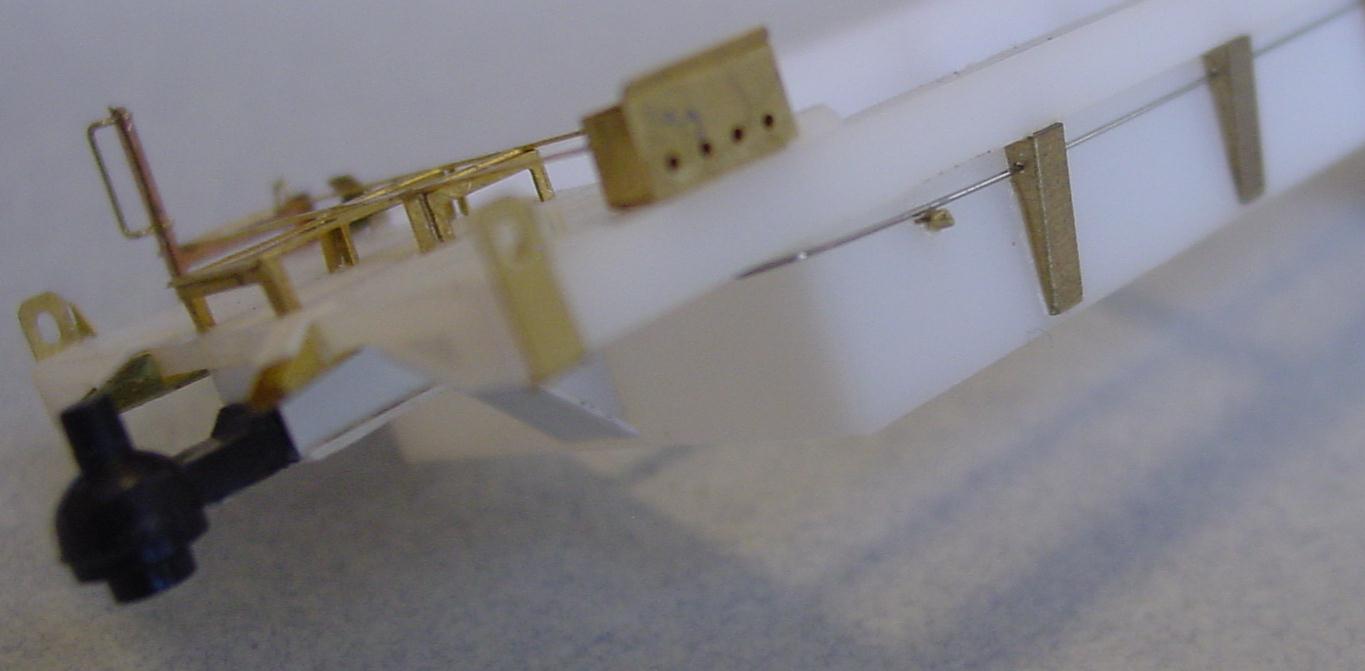
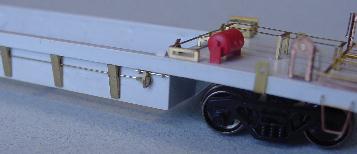
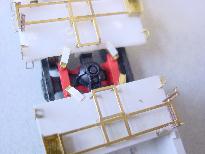
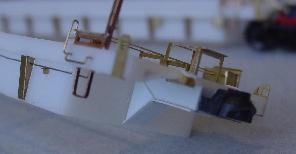
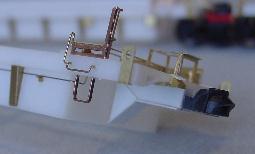
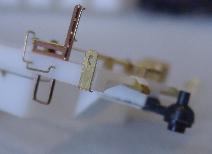
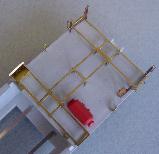
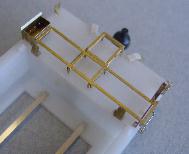
For now I am using the Athearn #59005 HUSKY STACK TRIPLE VALVE w/AIR TANK (4 per pkg)
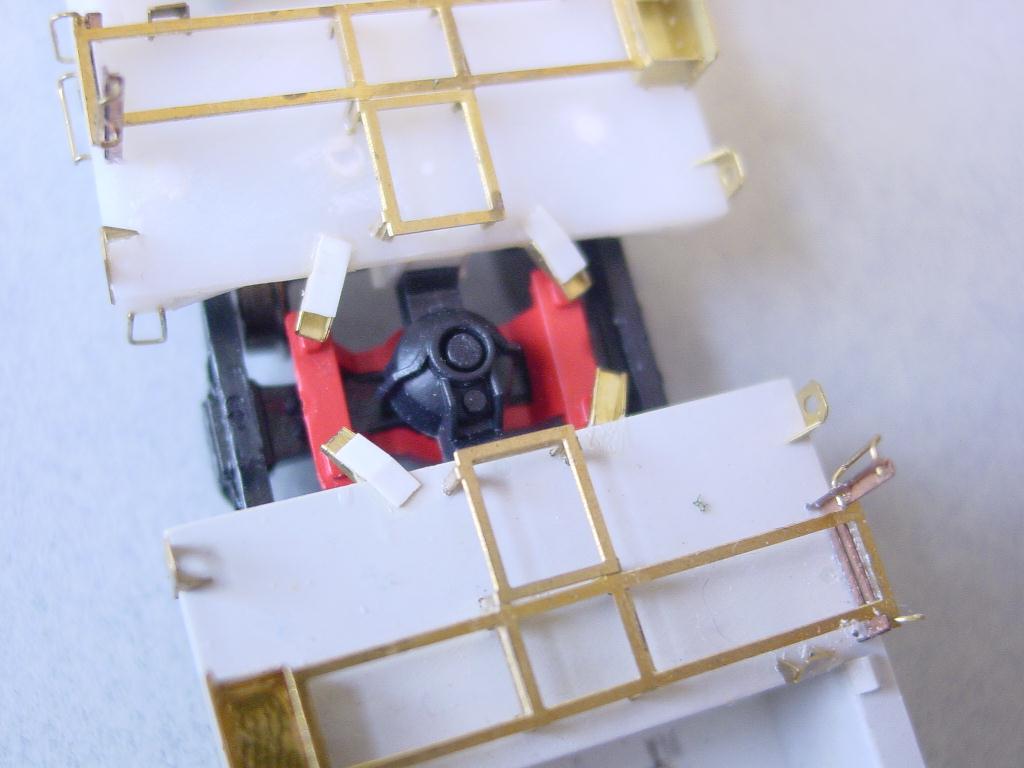
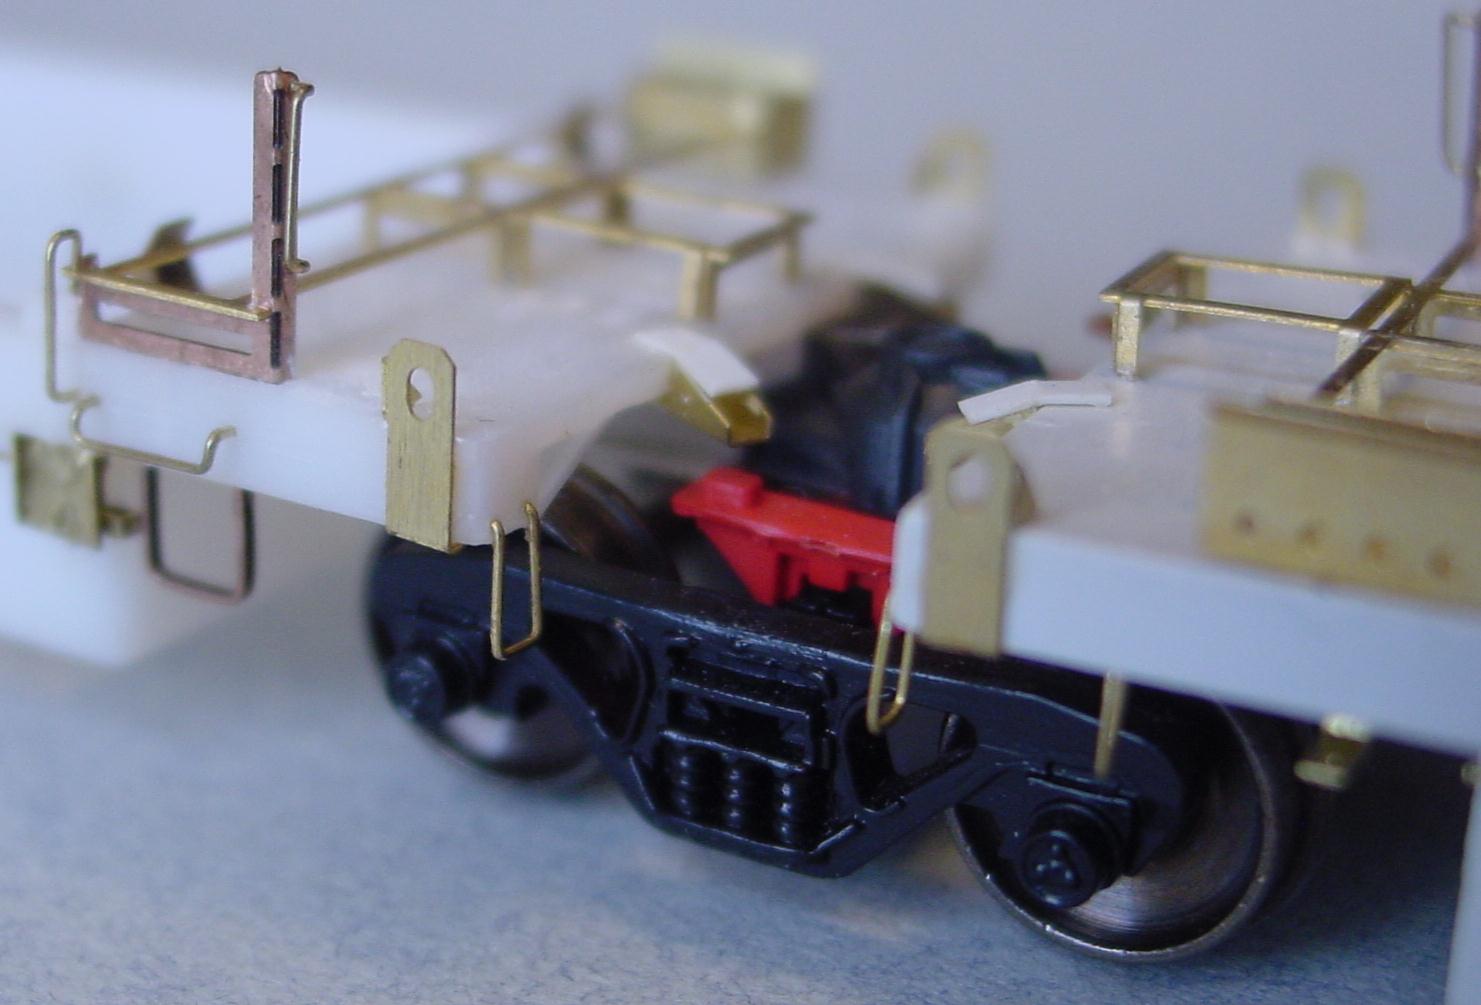
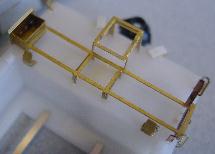
The articulations joints used are from Athearns MAXI III cars. Athearn once sold these as separate details. Here are the part numbers.
Athearn #59102 MAXI III INTER BOLSTER - Male (4 per pkg) (shown in stock)
Athearn #59103 MAXI III INTER BOLSTER - Female (4 per pkg)(shown in stock)
Athearn #59109 MAXI III SPAN BOLSTER - (4 per pkg)
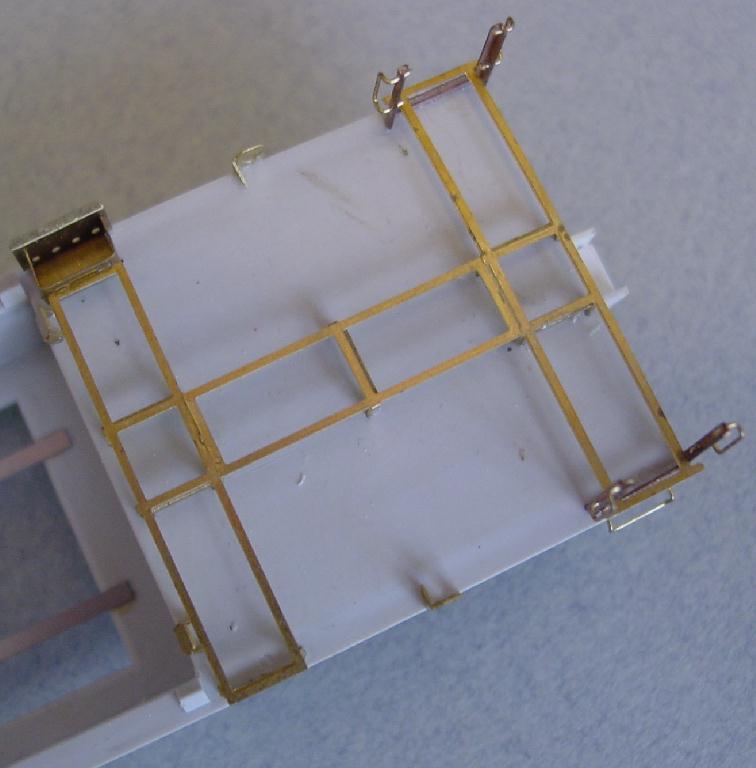
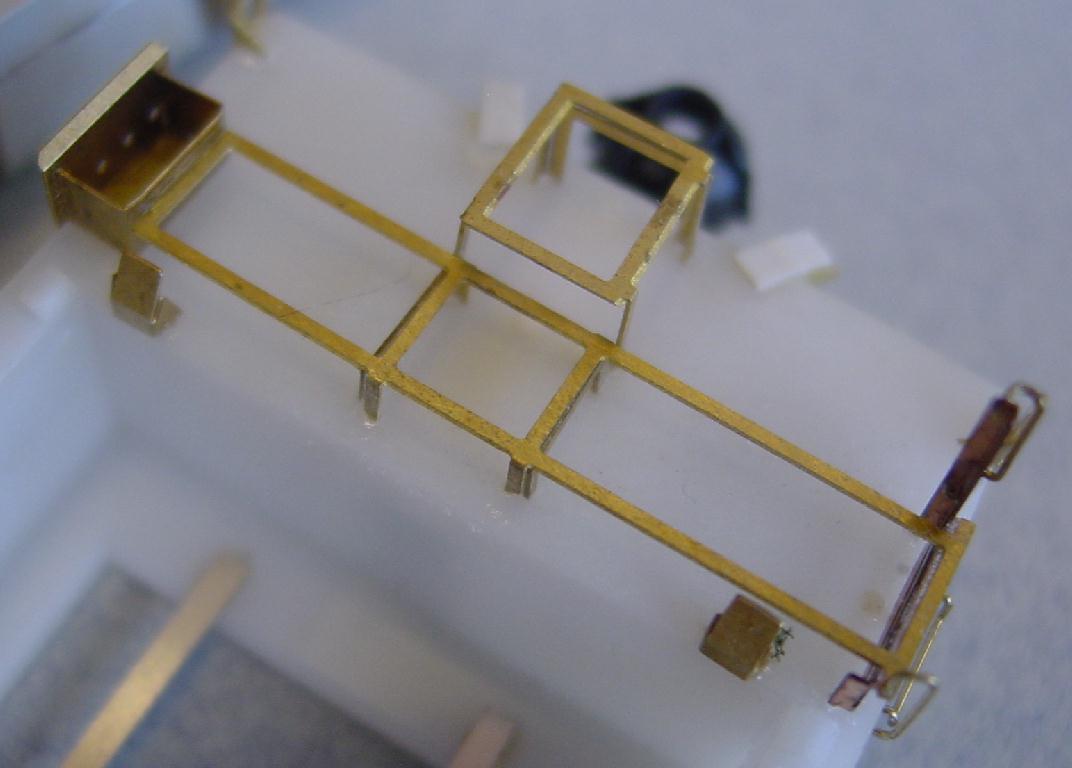
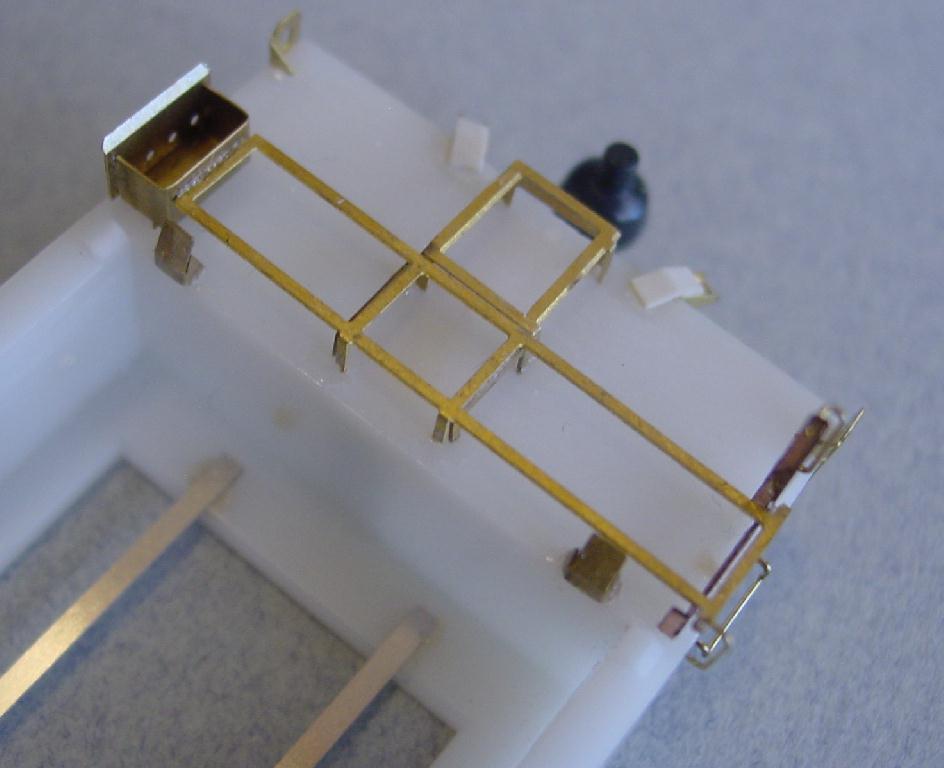
If you will be using the above bolsters, there is a fixture(jig) included in the project to help line them up.
along with a template for the bolster box (for lack of better name) has also been made.
And a couple of fixtures to center the bolster has been developed too.
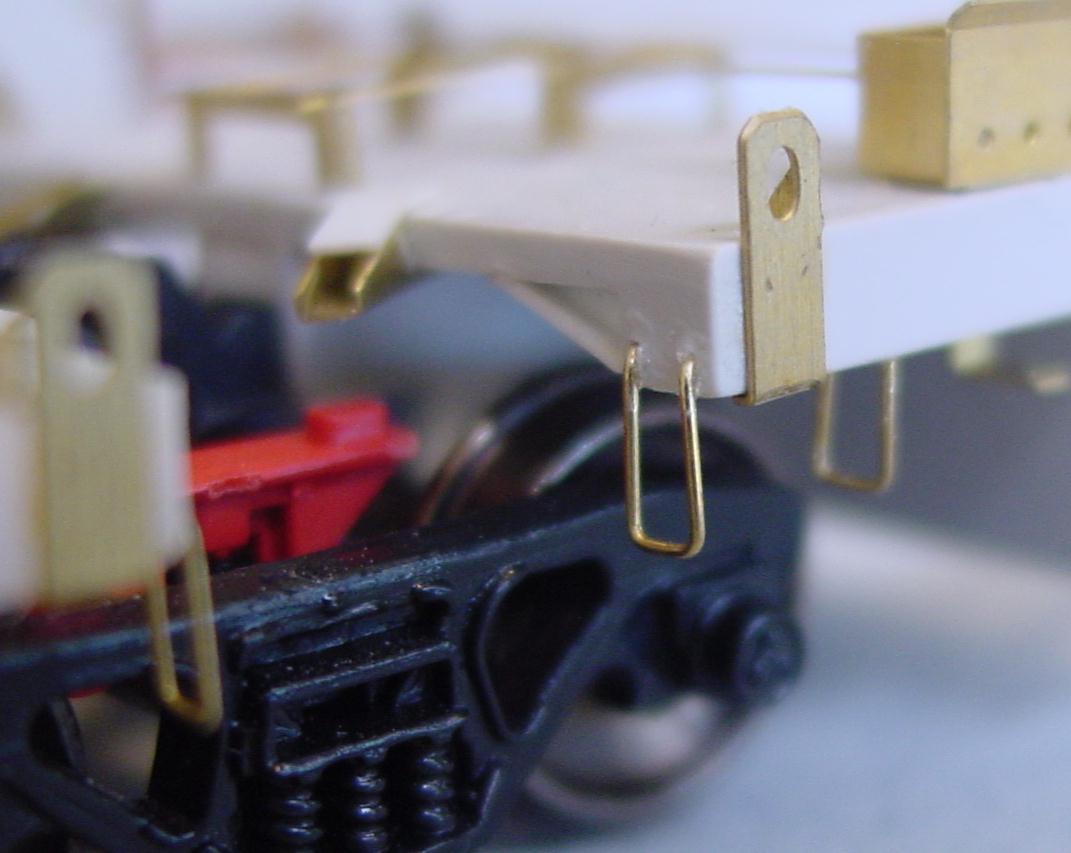
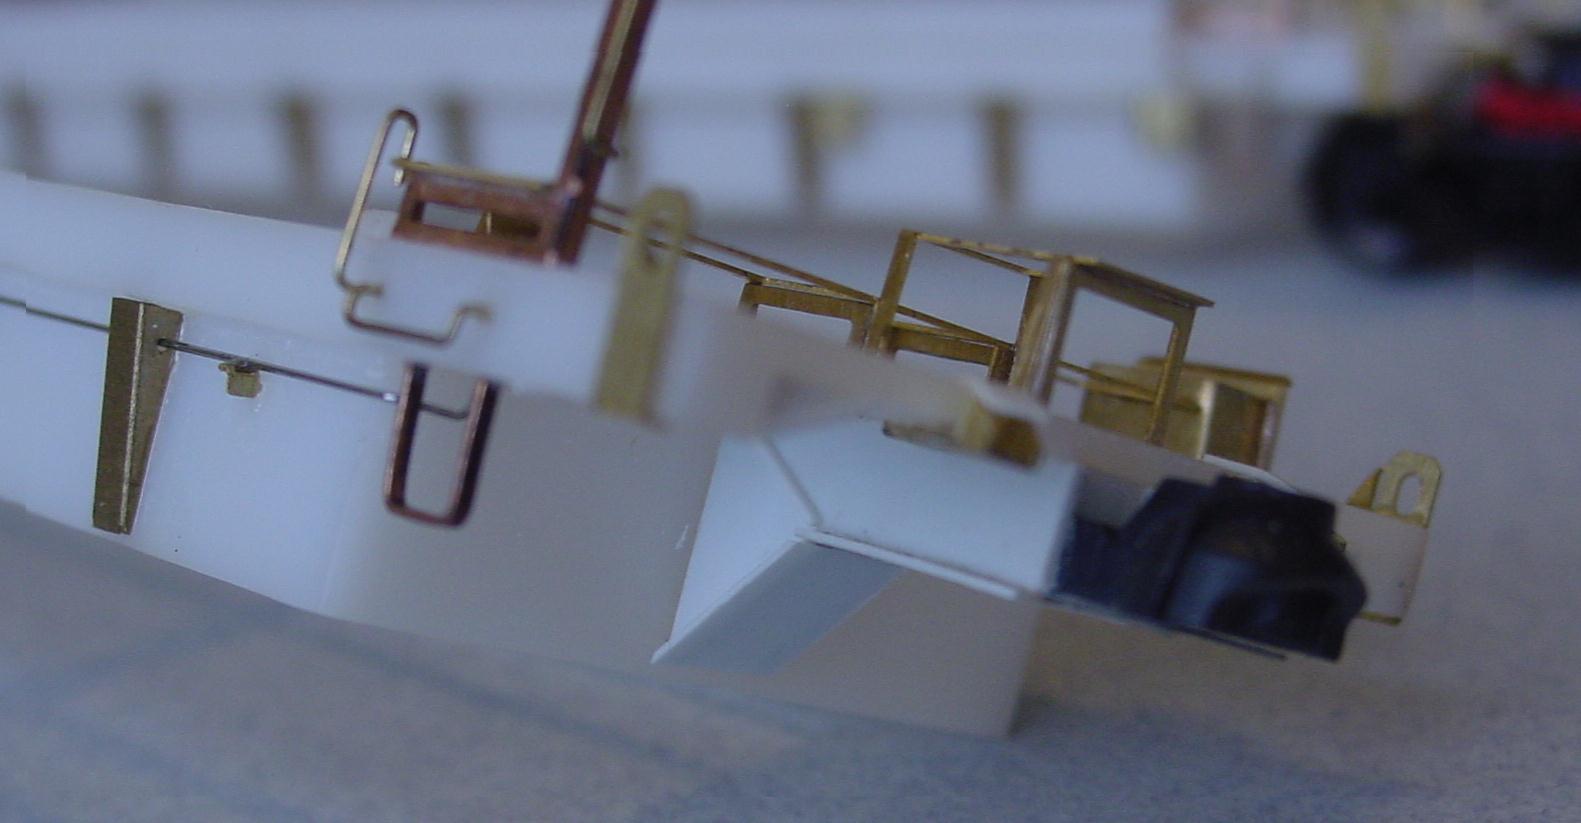
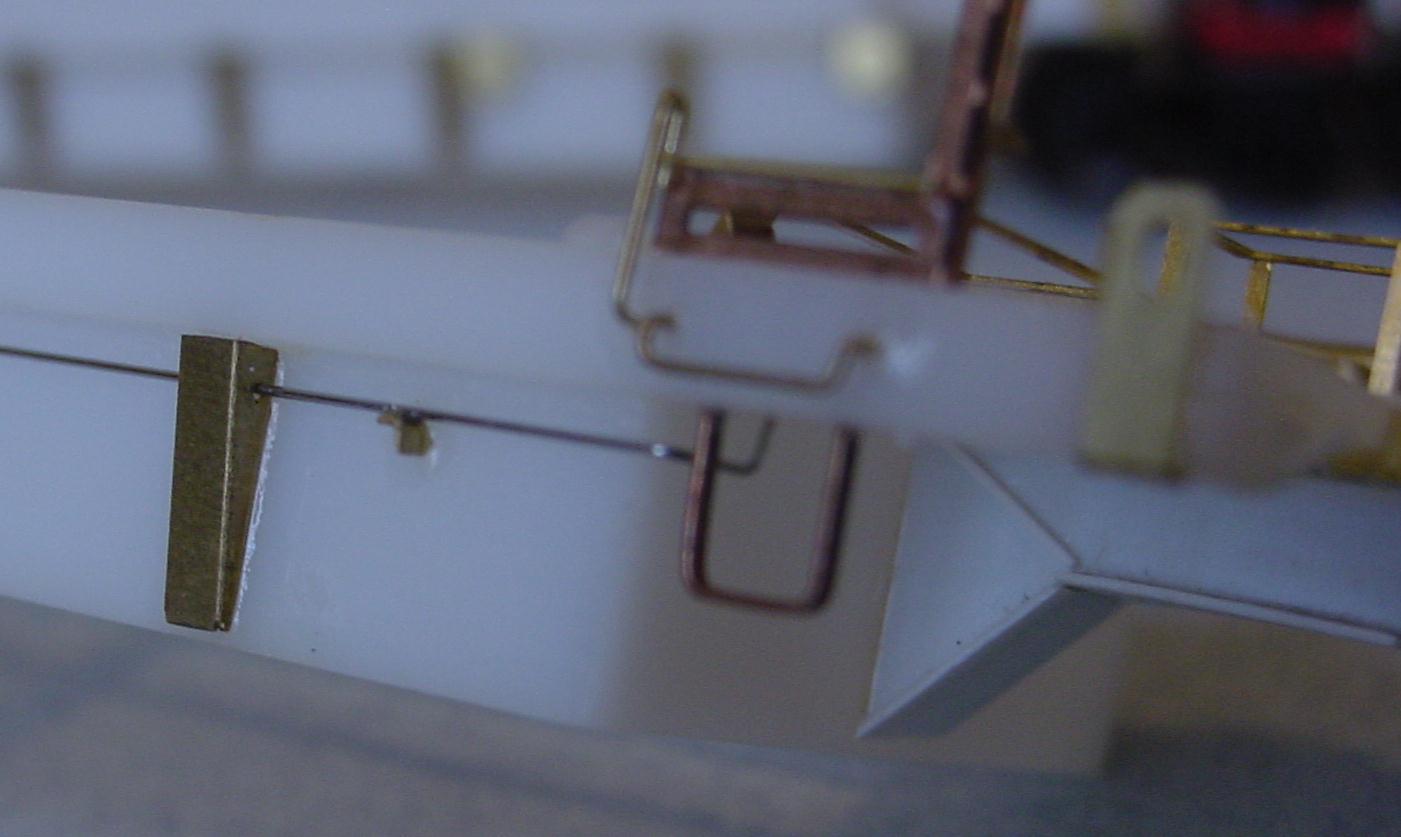
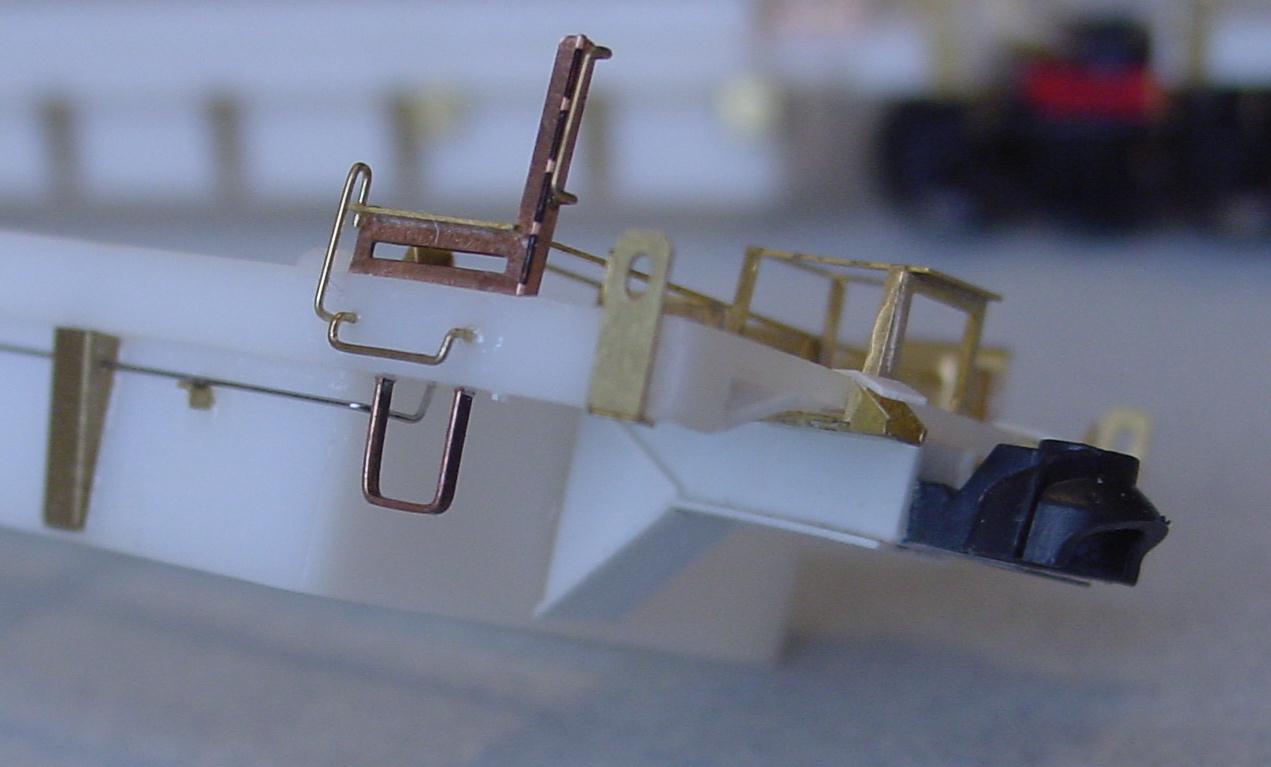
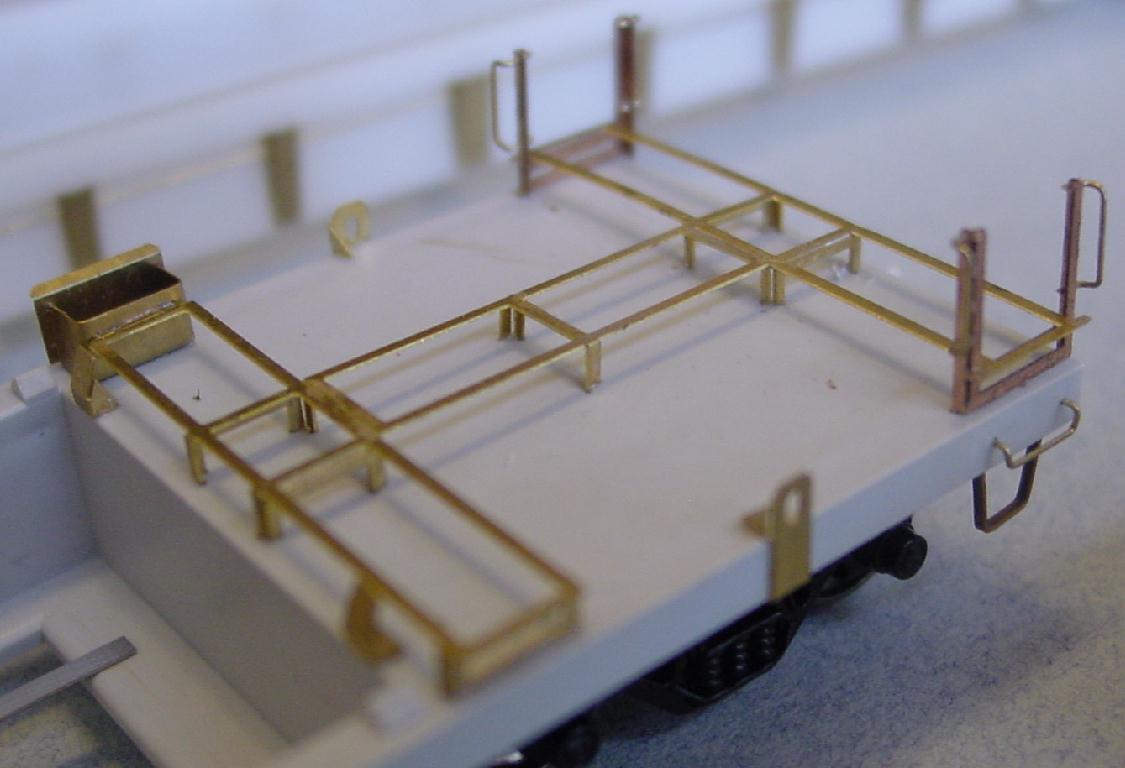
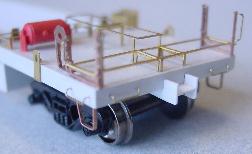
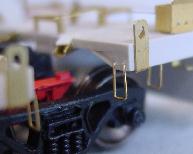
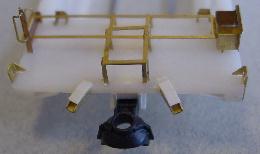
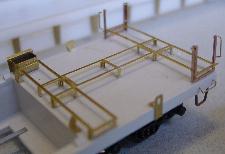
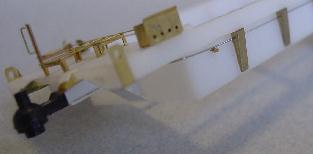
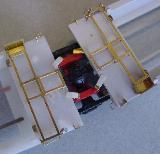
There are stabilizer arms. The main arm is done but I am rethinking the top plate. It will probably be a piece of brass. And yes there is a template
for drilling mounting holes for these also. It actually has two purposes
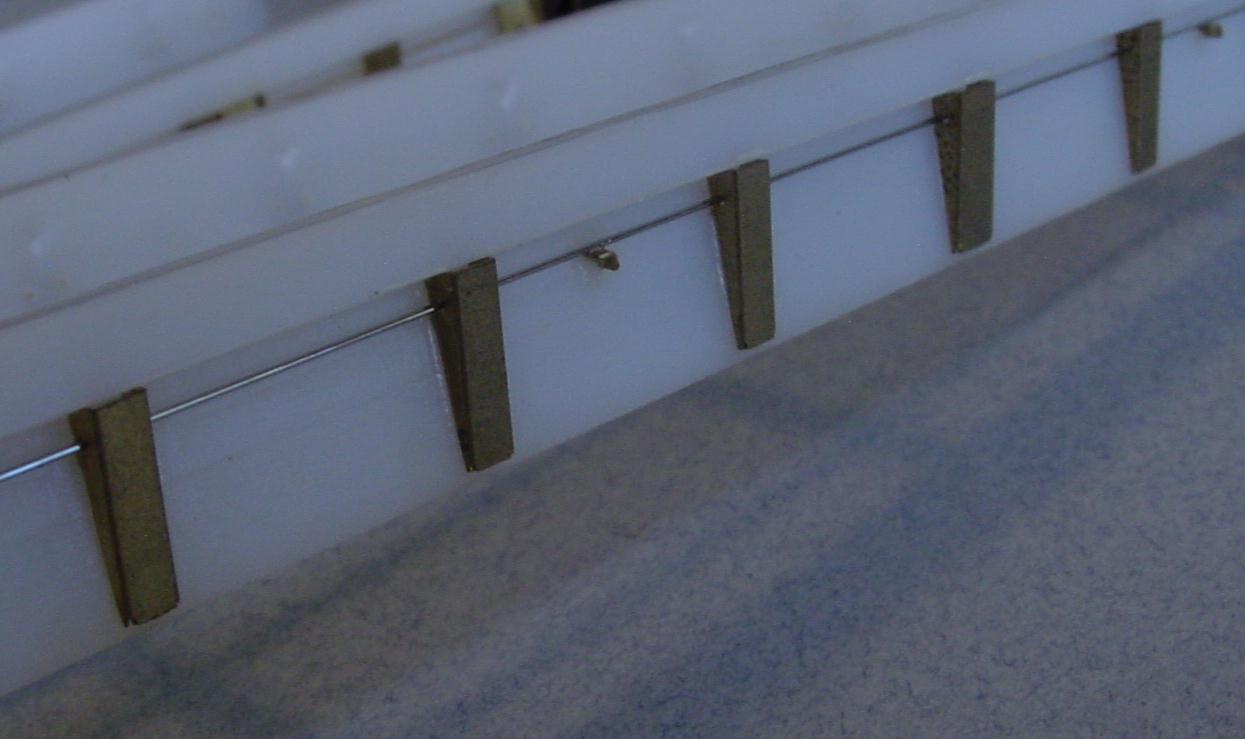
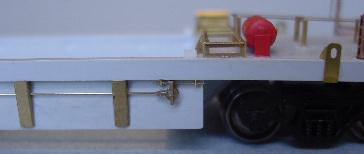
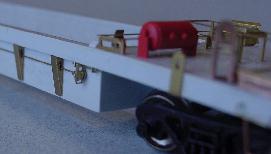
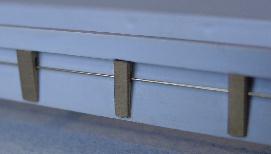
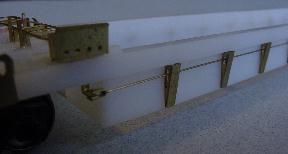
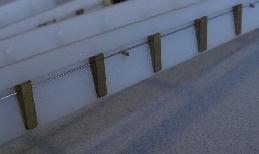
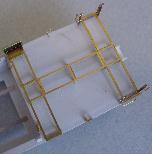
All of the side ribs are included with either holes or slots for train lines. There are enough to redo nine of the ten
well sides. One unit side does not have a train line so those ribs are not replaced. And yes, there is a drill template to aid
in drilling the mounting holes in the correct locations.
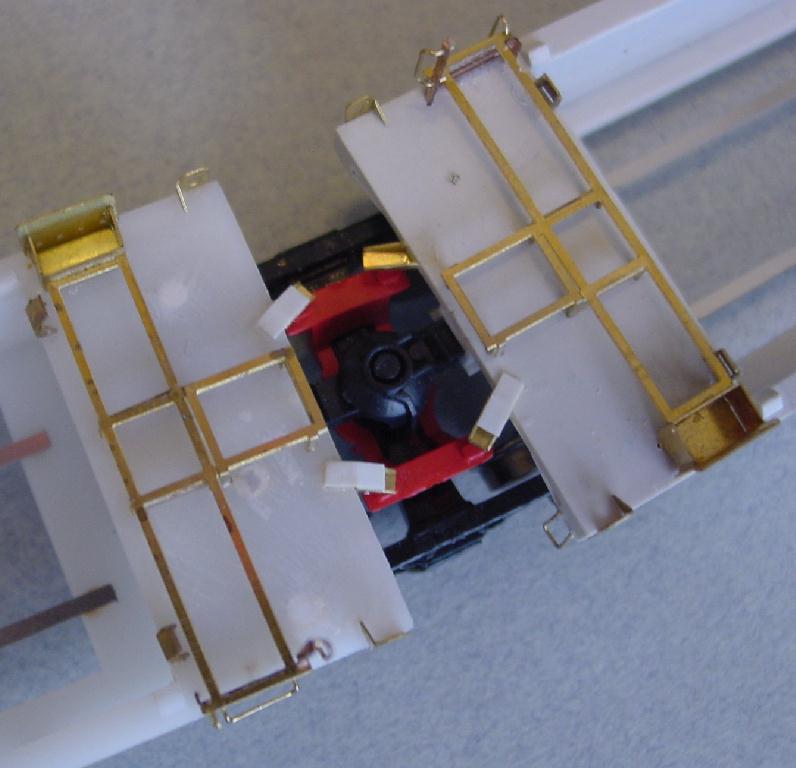
Here is page that shows some of the steps I came up with to
rebuild the articulation bolsters.
the biggest problems holding me up are the pulleys and stinging the chains.


So, here is what I am thinking on this project. (Maybe not - writers block. Will update soon)
If you are interested in joining this community project, please send me a short e-mail at planodude@verizon.net and I will add you to the list. No commitments!
If you don't care to join but are interest in the parts, there is a good chance they will be available after everything is finalized. Just follow along the
public portion of the project for news of them being available.
Expect updates and revisions to this page as questions/suggestions come in and/or my mind rethinks what I meant to say...
Posting date: Oct. 2011 - Projected project start date early. 2012
Thanks for looking! Keith
Back to Intermodal details page or community projects or home page