I have been planning the build of this model for many years. Not on a continuous basis, but always keeping an eye out for information on how to go about building the model. I knew that the through hatch had been removed, the opening plated over and three new 30" round hatches installed. I also believe the bay sides had been pulled out to widen the opening for the new gates. And, it looks like the bay outer ends were brought in. From looking at photos, one could tell they took out the center bay between the ribs of bay centers, leaving two side ribs side by side. Sorry, don't know all the technical terminology. Also assume they left the bay divider walls in placed and abutted them together.
So that is where I started as well. Well kind of. I used two shells to make my one, two bay, car. Not one to waste if I can avoid it, I am also working on another car that will use these remaining parts. That car is a Union Pacific PS2 5250 cf covered hopper. I don't have much on it yet but will throw little nuggets out there when ever I have something new to add. It is moving along about as fast as the progress on this car.
First attempt
What I thought I was going to do...| How to photos | How to description |
|---|---|
|
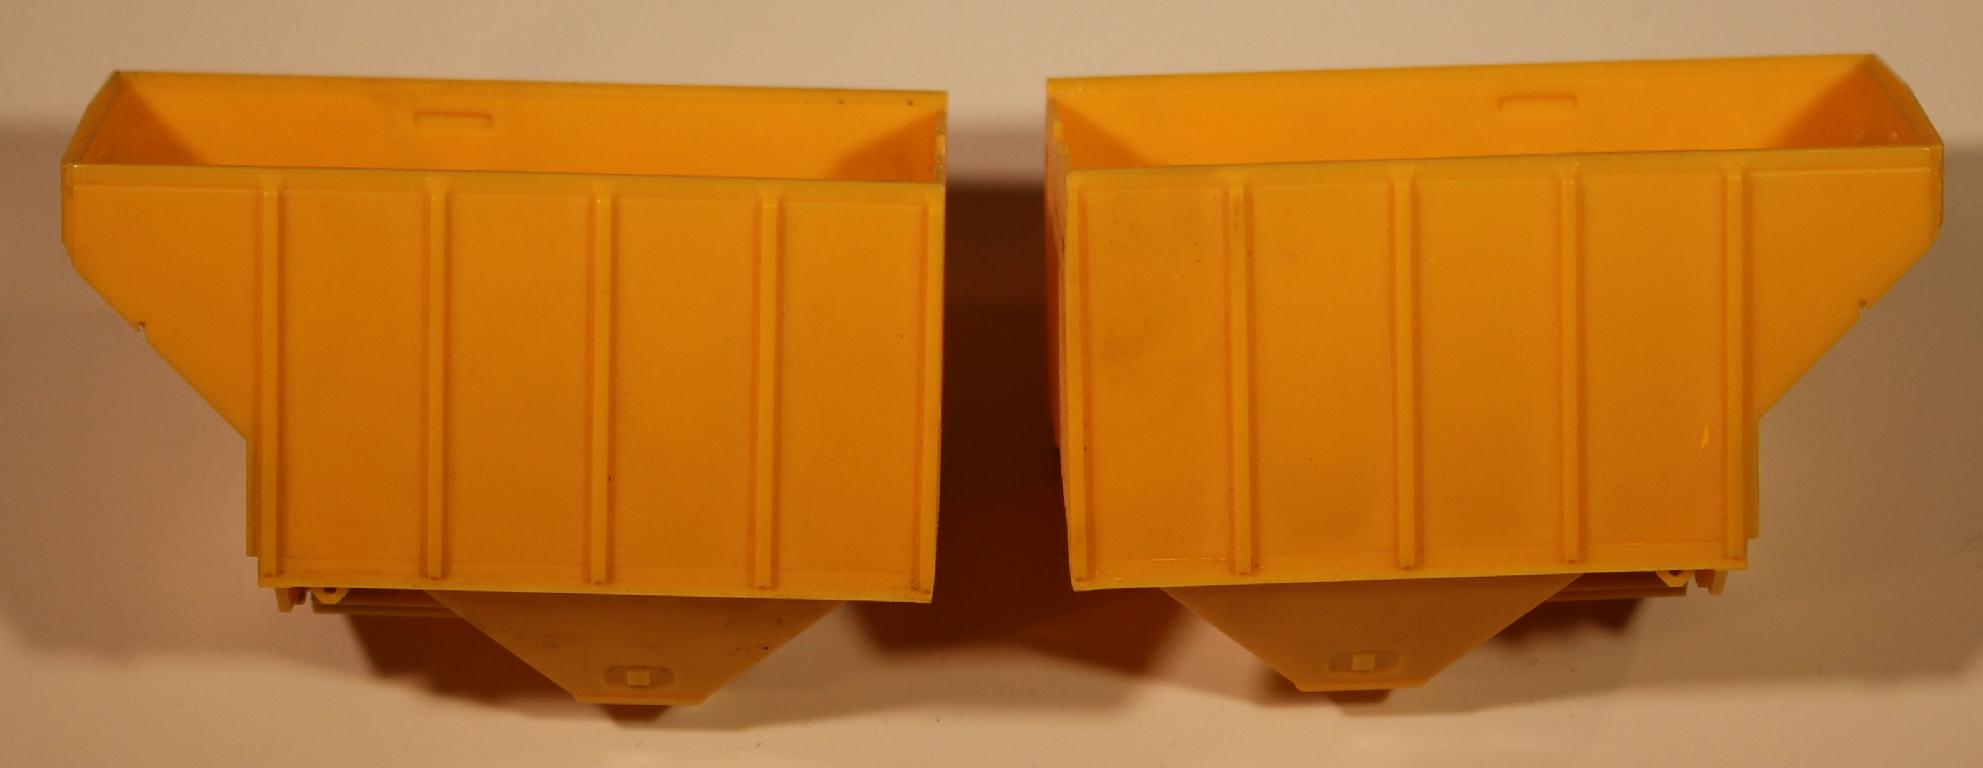
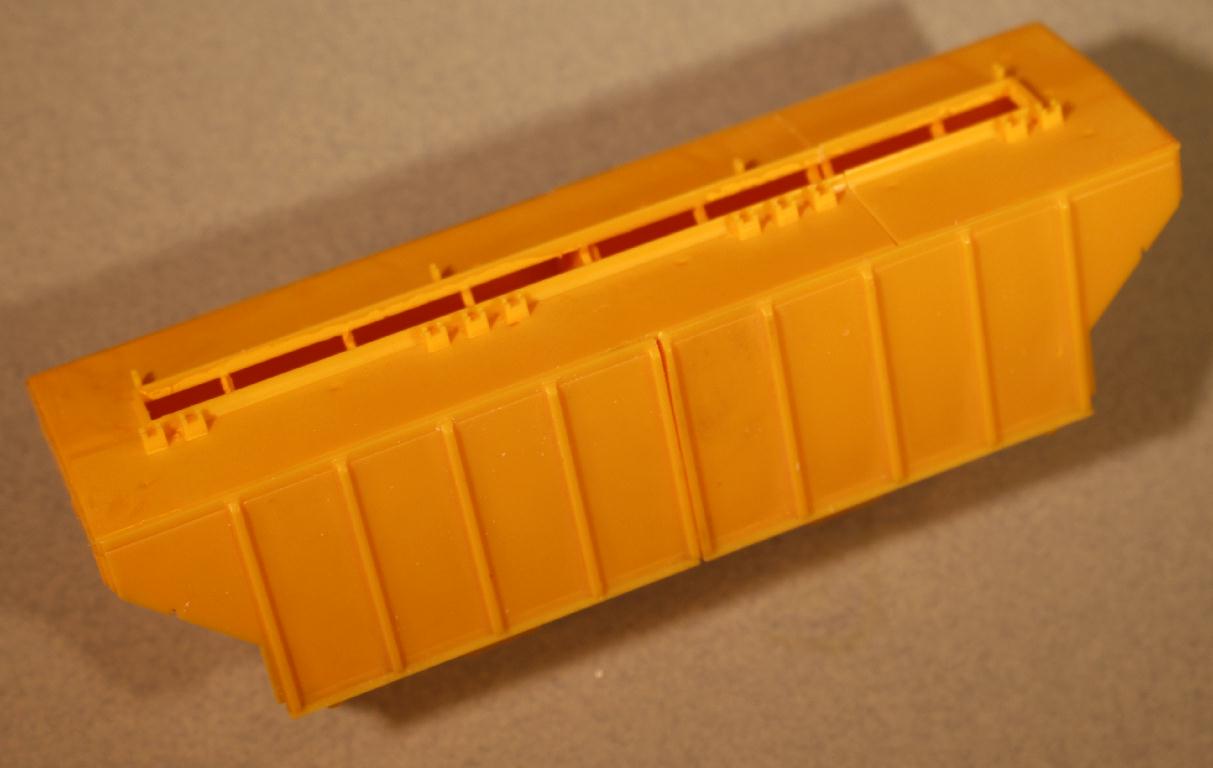
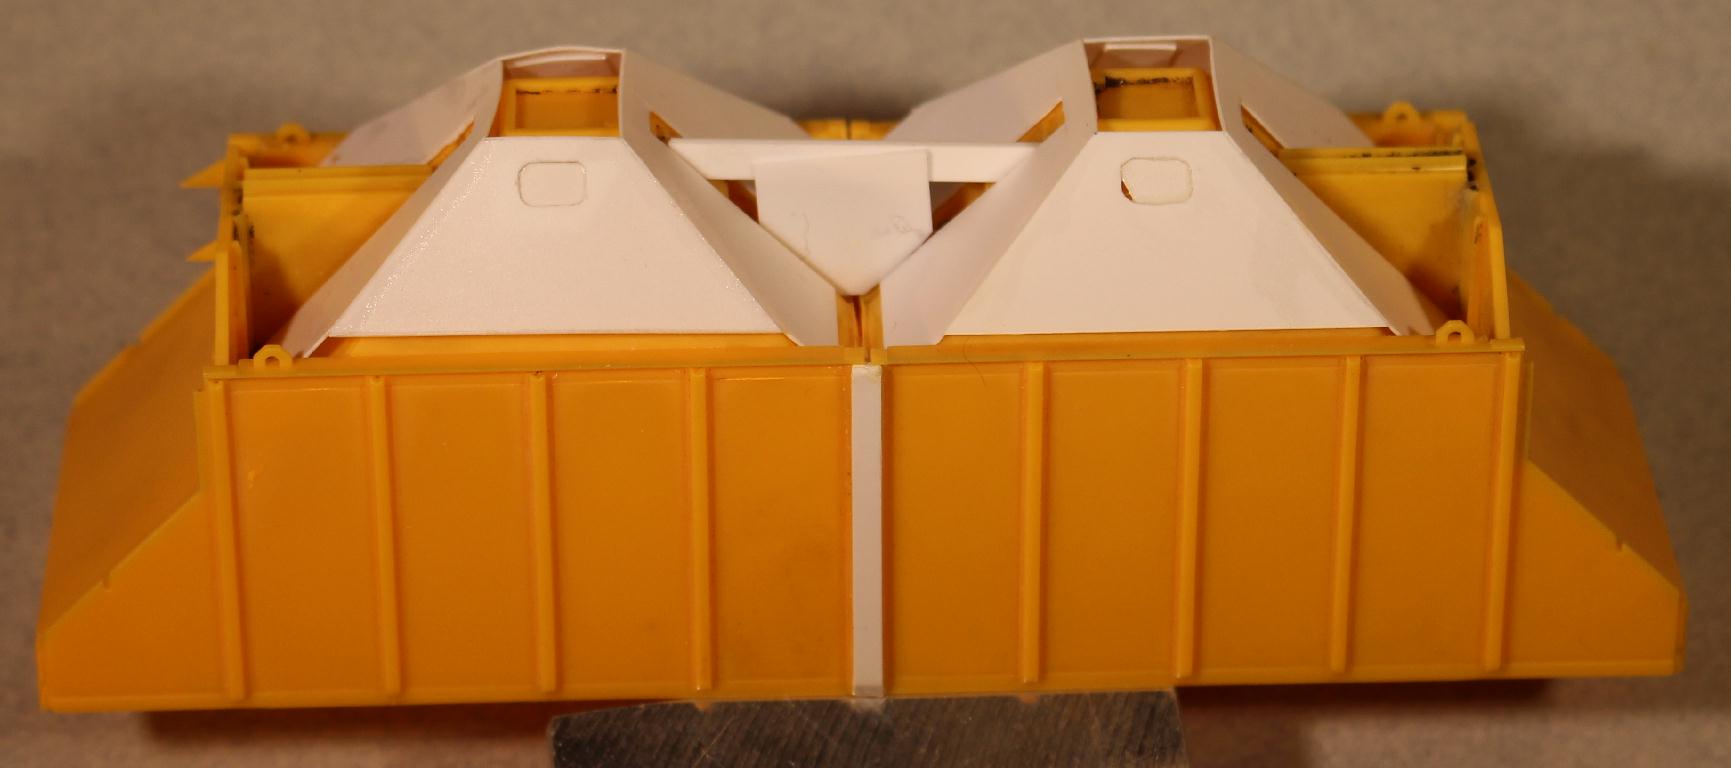
I carefully cut the outer bays from each body, keeping the bay divider wall on the outer bay, leaving me with one A end and one B end bay. There is a slight taper to these divider walls so getting a straight cut wasn't easy for me. I struggled for quite a while to figure out a good way to true up these walls so I could get a solid connection between them. |
|
But finally I realized that if I removed too much of the bay divider walls, I wouldn't get a good effect of the two plated over side ribs. |
|
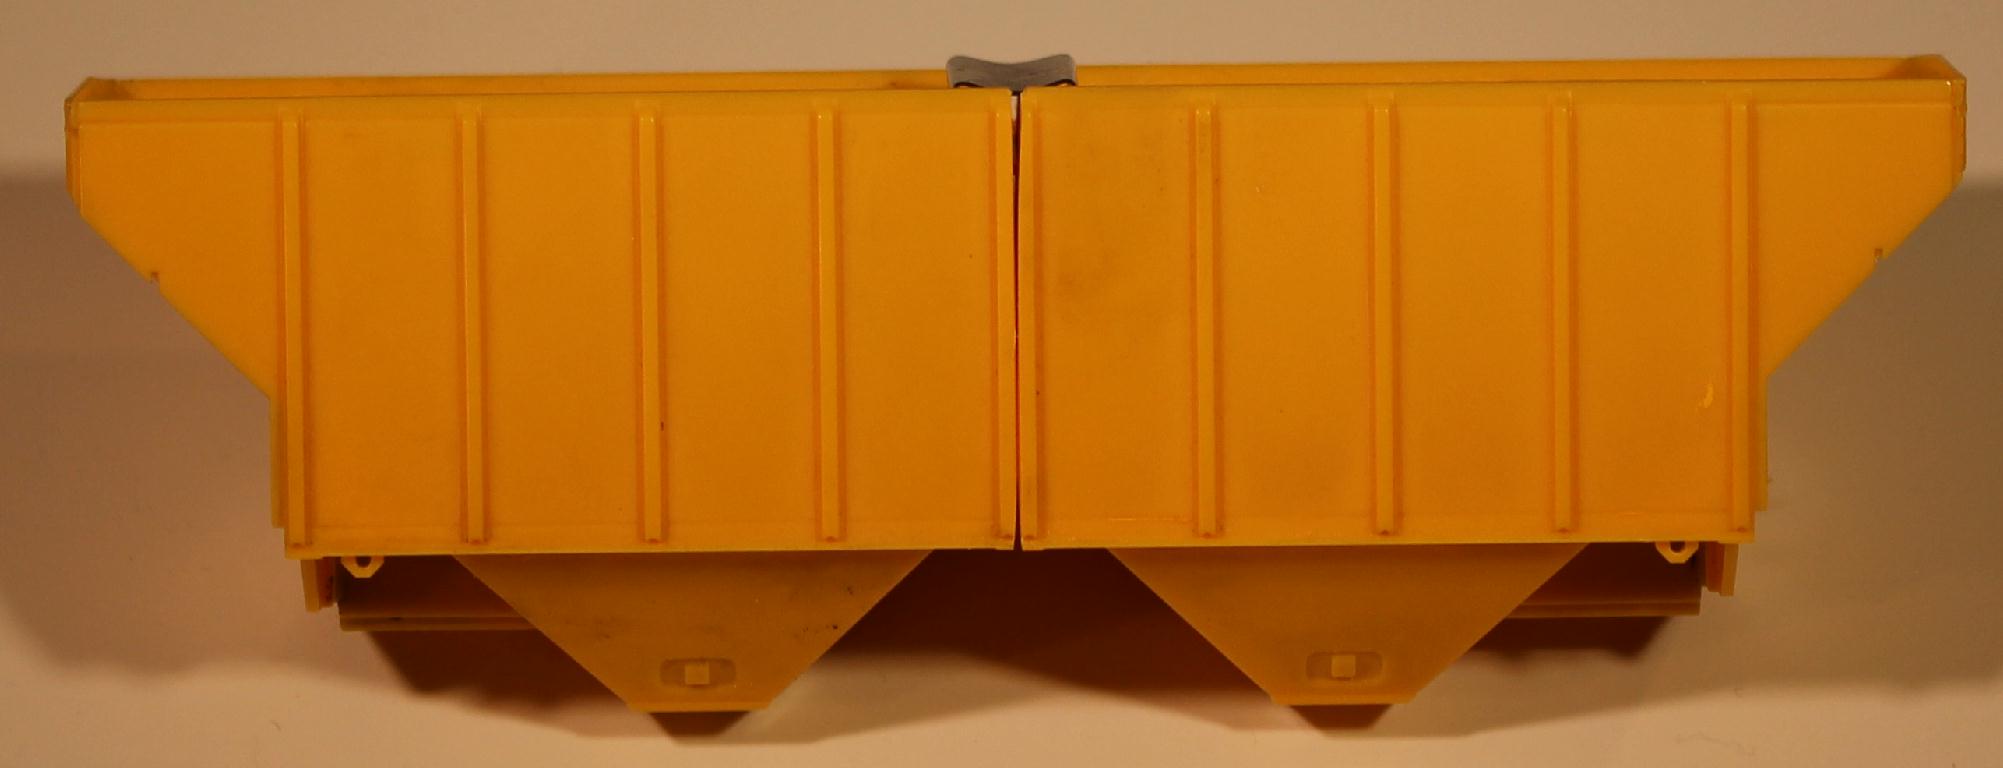
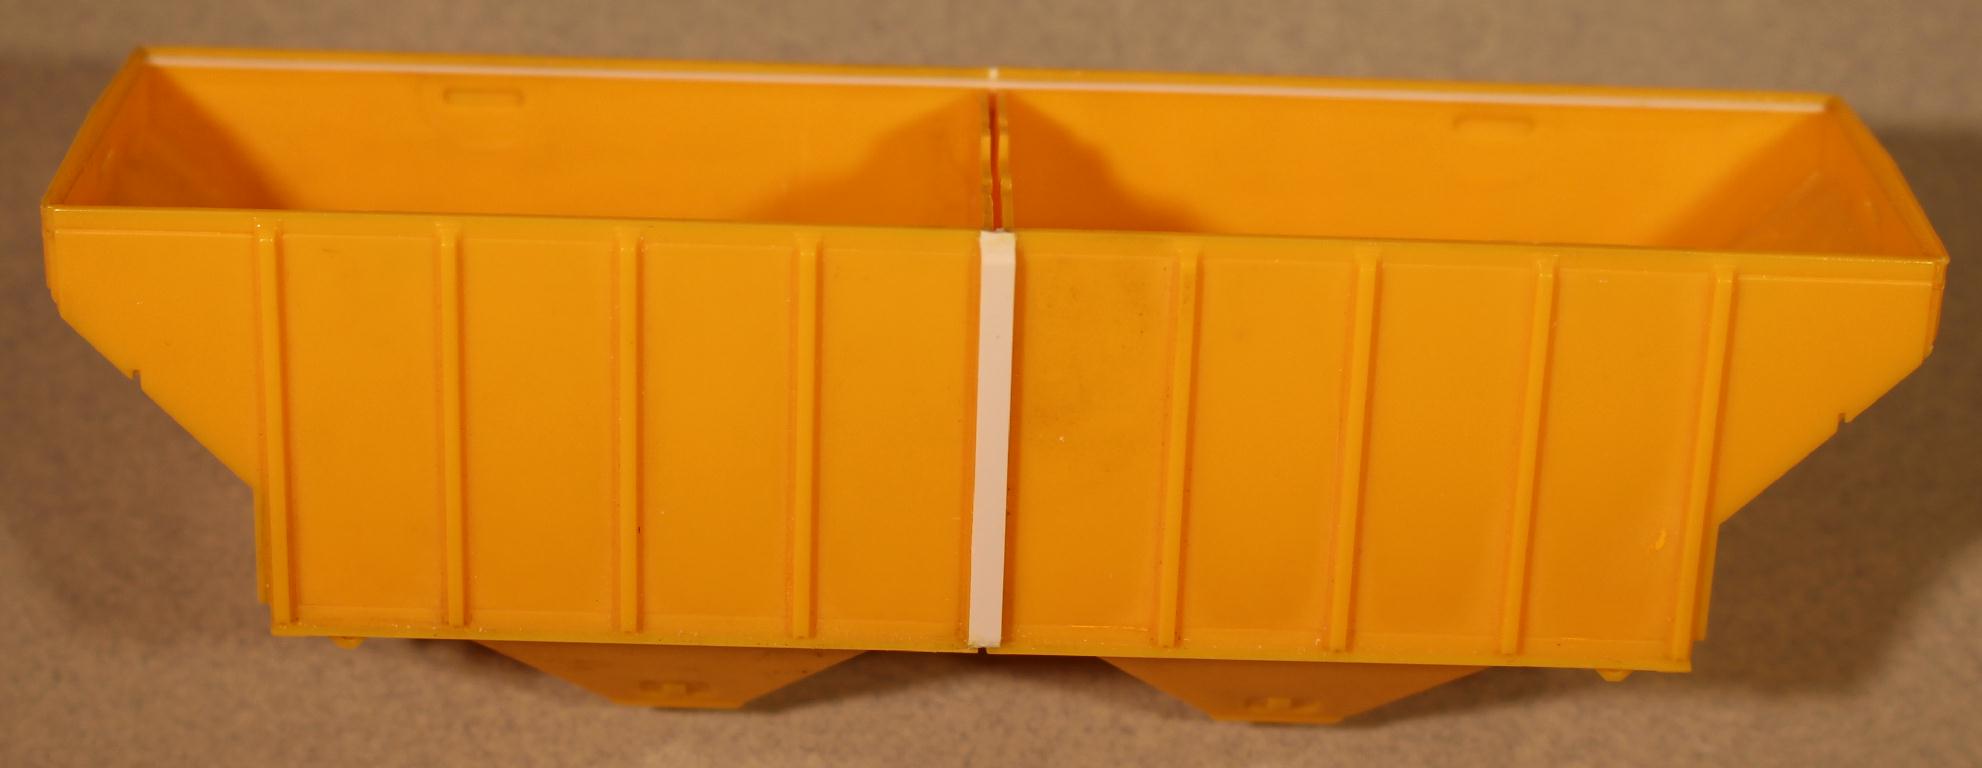
Knowing that I would be using a piece of .010 X .100 styrene strip to create the plate effect, got it all close enough and glued the body together. |
|
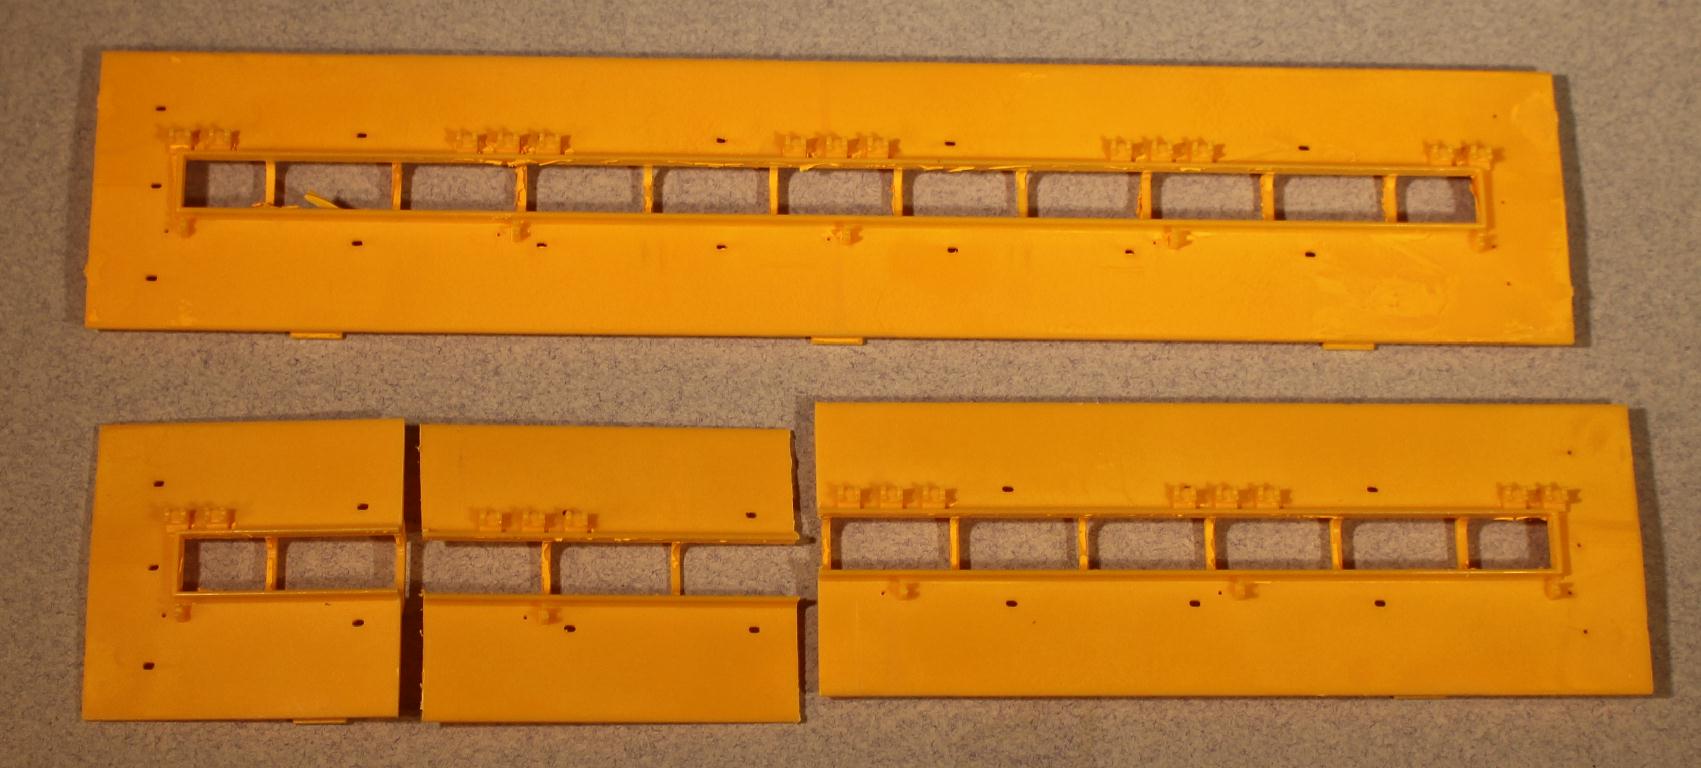
Moving to the roof, my first attempt was to cut one the roofs up, taking out a center section the same size as the missing bay. |
|
Yeah that fits perfectly! Now I just need to remove the hatch rim and hinges, fill the hatch opening and holes for the plastic roofwalk. Sounds like a lot of carving sanding filing... |
|
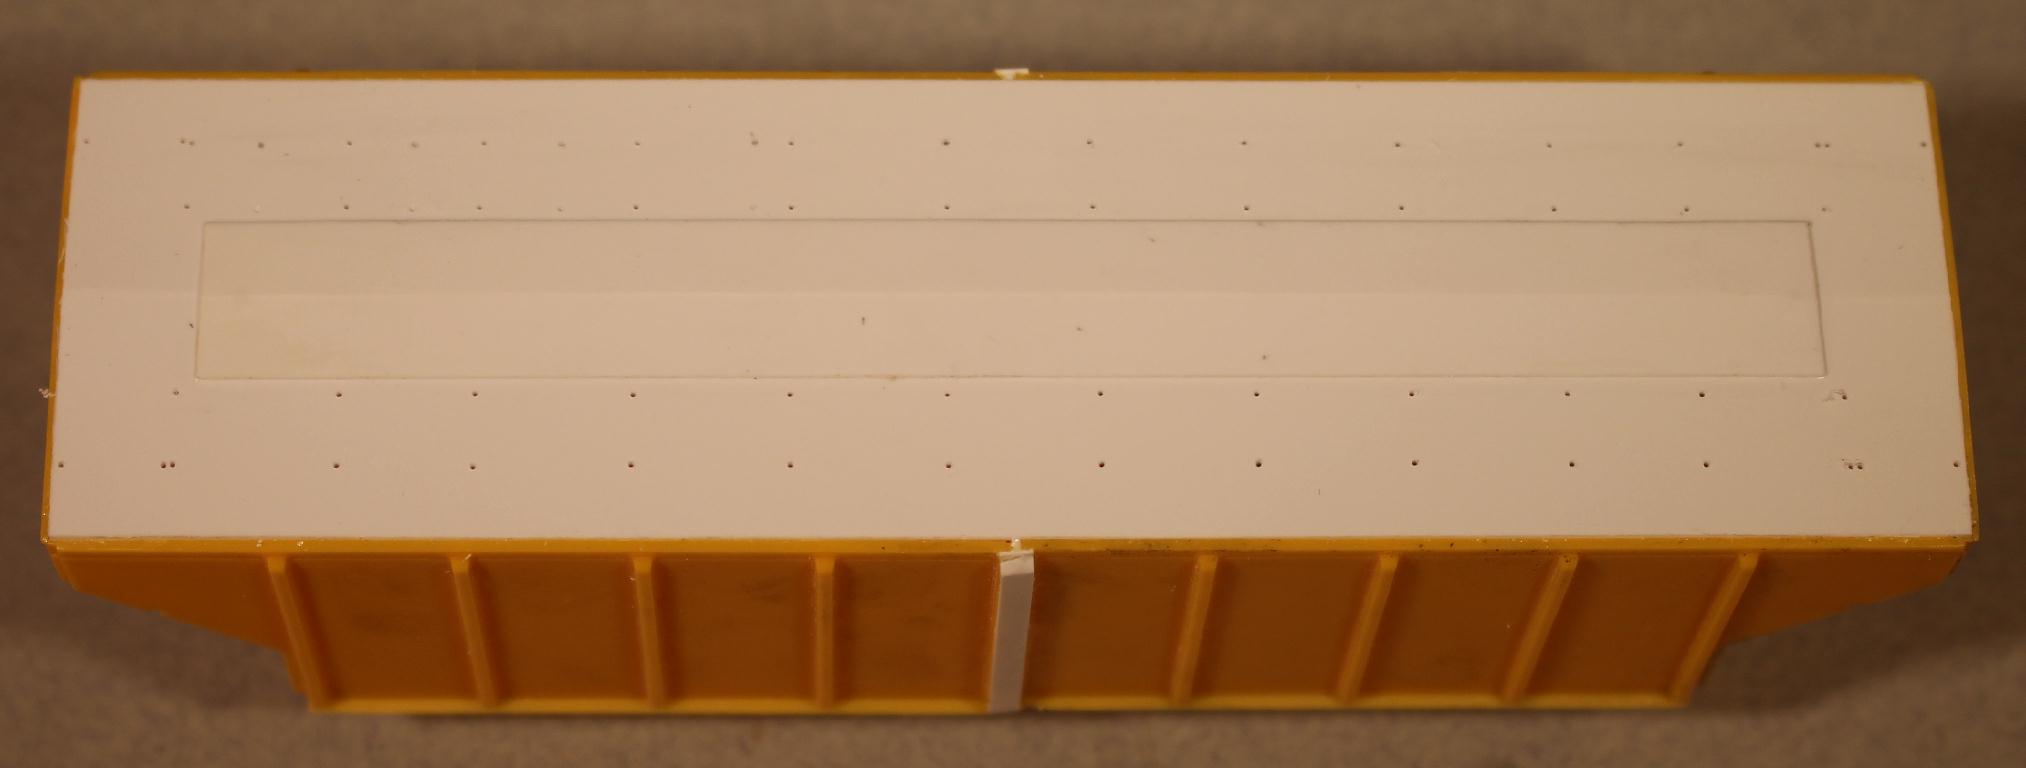
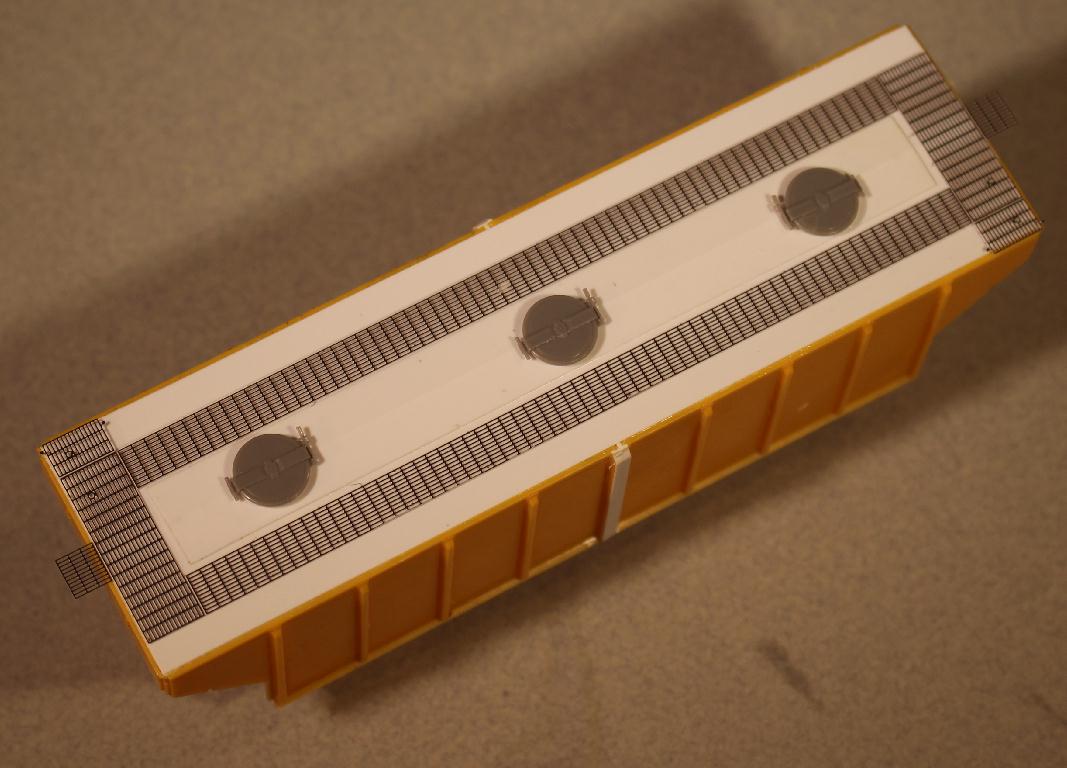
All that work would produce a flat surface - kind of like a piece of styrene. So, why not just use a piece of .030" styrene for the roof with a piece of .010 styrene to represent the hatch plate. Went ahead and drilled all those holes for the new walkway supports before a bunch of other details were added that could get damaged. |
|
One of the issues with using the .030" styrene for the roof is that the original roof is about .050" thick. That means the new roof would be recessed down into the body. I remedied this by adding strips of .020" thick styrene to the lip on the inside of the body that the roof rests on. This brought the roof up even with the side walls. |
|
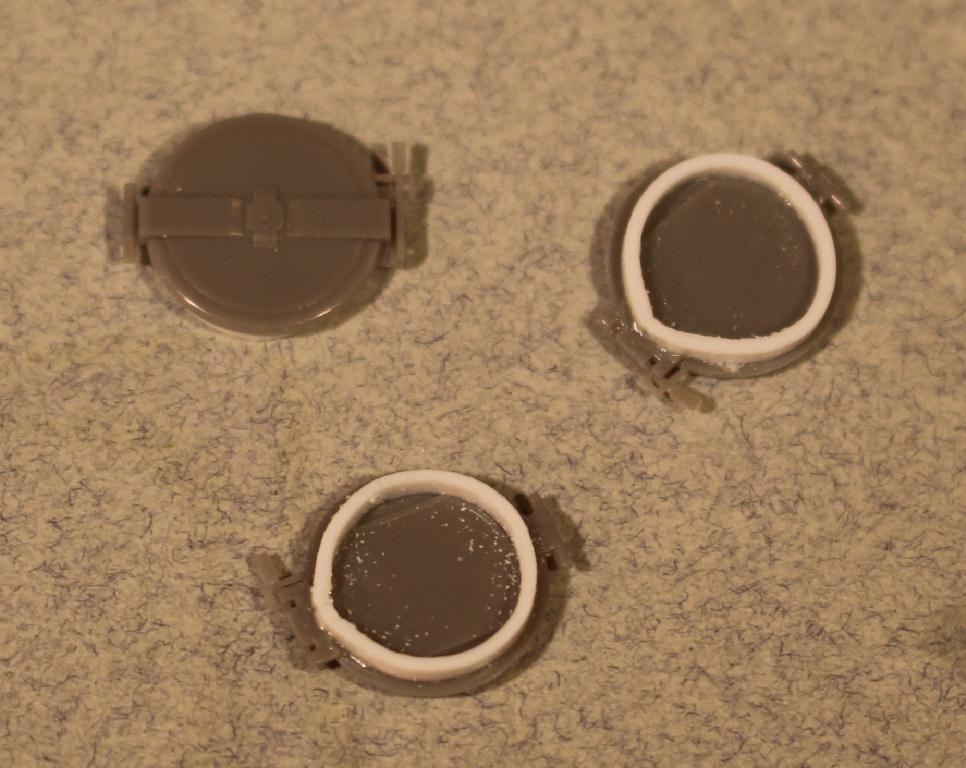
I plan to use 30" round hatches available from Tangent Scale Models PS2 4000cf model. But they will need to have some sort of rim made to hold them up a little bit. First attempt was to form some rims out of .030" X .030" styrene strip. Didn't go that well. Will have to try something else. |
|
I don't have any hatch spacing dimensions to go on, so I eyeballed it using the photos I could find showing this hatches. Will have to do for now. The new walkway is just sitting flat on the roof for this photo op. |
|
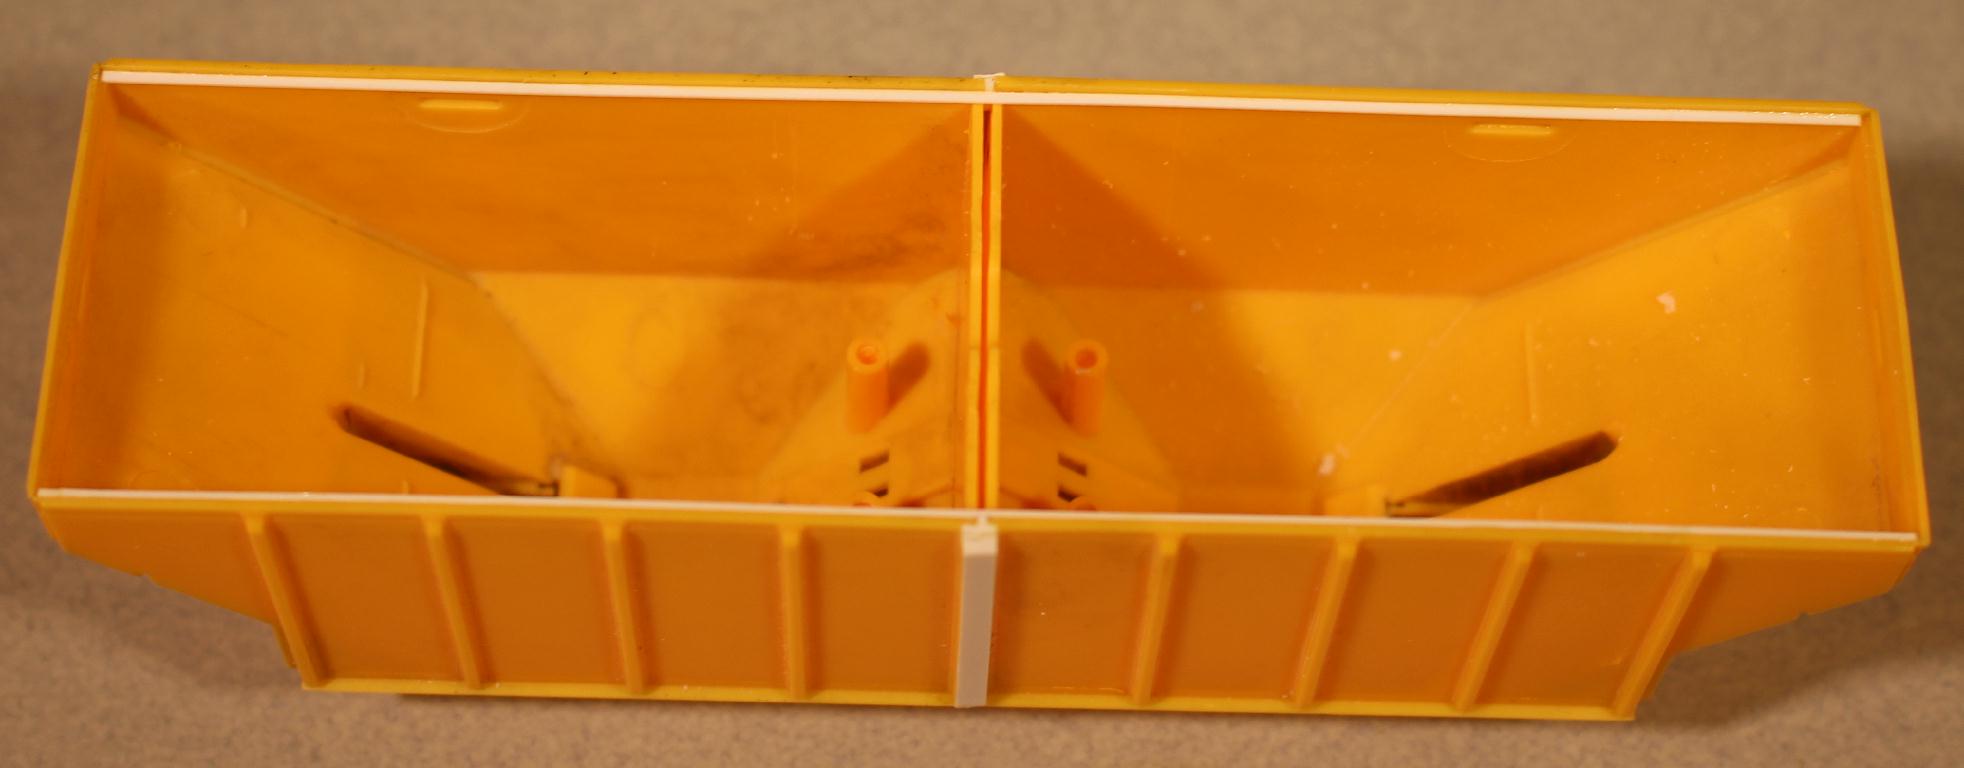
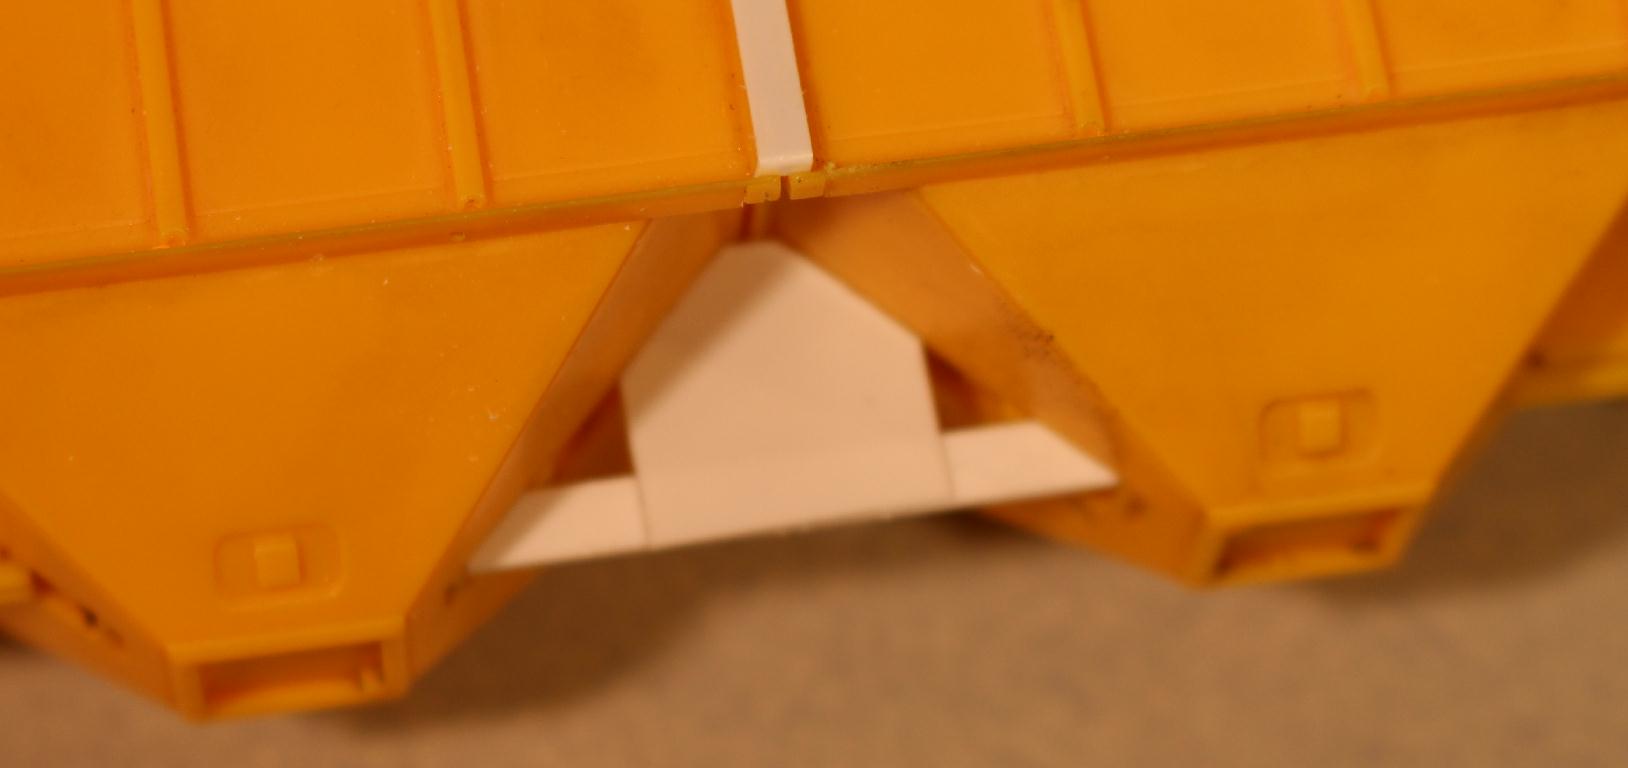
The space between the bays is wider than the original car. It looks like the CNW shop just added steel plates between the frame beam and the body. I used pieces of styrene to represent this feature. |
|
As I mentioned at the beginning of this page, it appears the bays were resized to accommodate new outlet gates. I have yet to figure out exactly what these changes were or even the actual size of the new outlet gates. In an attempt to figure out how or what I am going to do to capture this affect, I created new bays out of styrene. Didn't turn out too well. Have more research to do... |

|
This project is on hold while I attempt to figure a few things out - and work on another project. Thank you for looking and your patience! |
Have a comment, question, suggestion, info about this model project? Let me know - email

www.planomodelproducts.com